| Table of Contents |
|---|
...
Workflow steps are one of five types:
- New Form
- Approval & Linked Steps
- HTTP1069255263
- Summary1069255263
- Existing form(s) that you created in the Form Designer
...
New Form
The Add Step wizard allows you to create a new form directly inside the Workflow Designer. It will come with a My Info section that contains several commonly used controls, and a business rule that auto-fills those controls with the logged-in user's information.
...
| Info |
|---|
One circumstance in which you might not want to use linked forms is a workflow in which each user is filling out a different form. See Linked Steps vs. Separate Forms below. |
Create a Linked/Approval Step
...
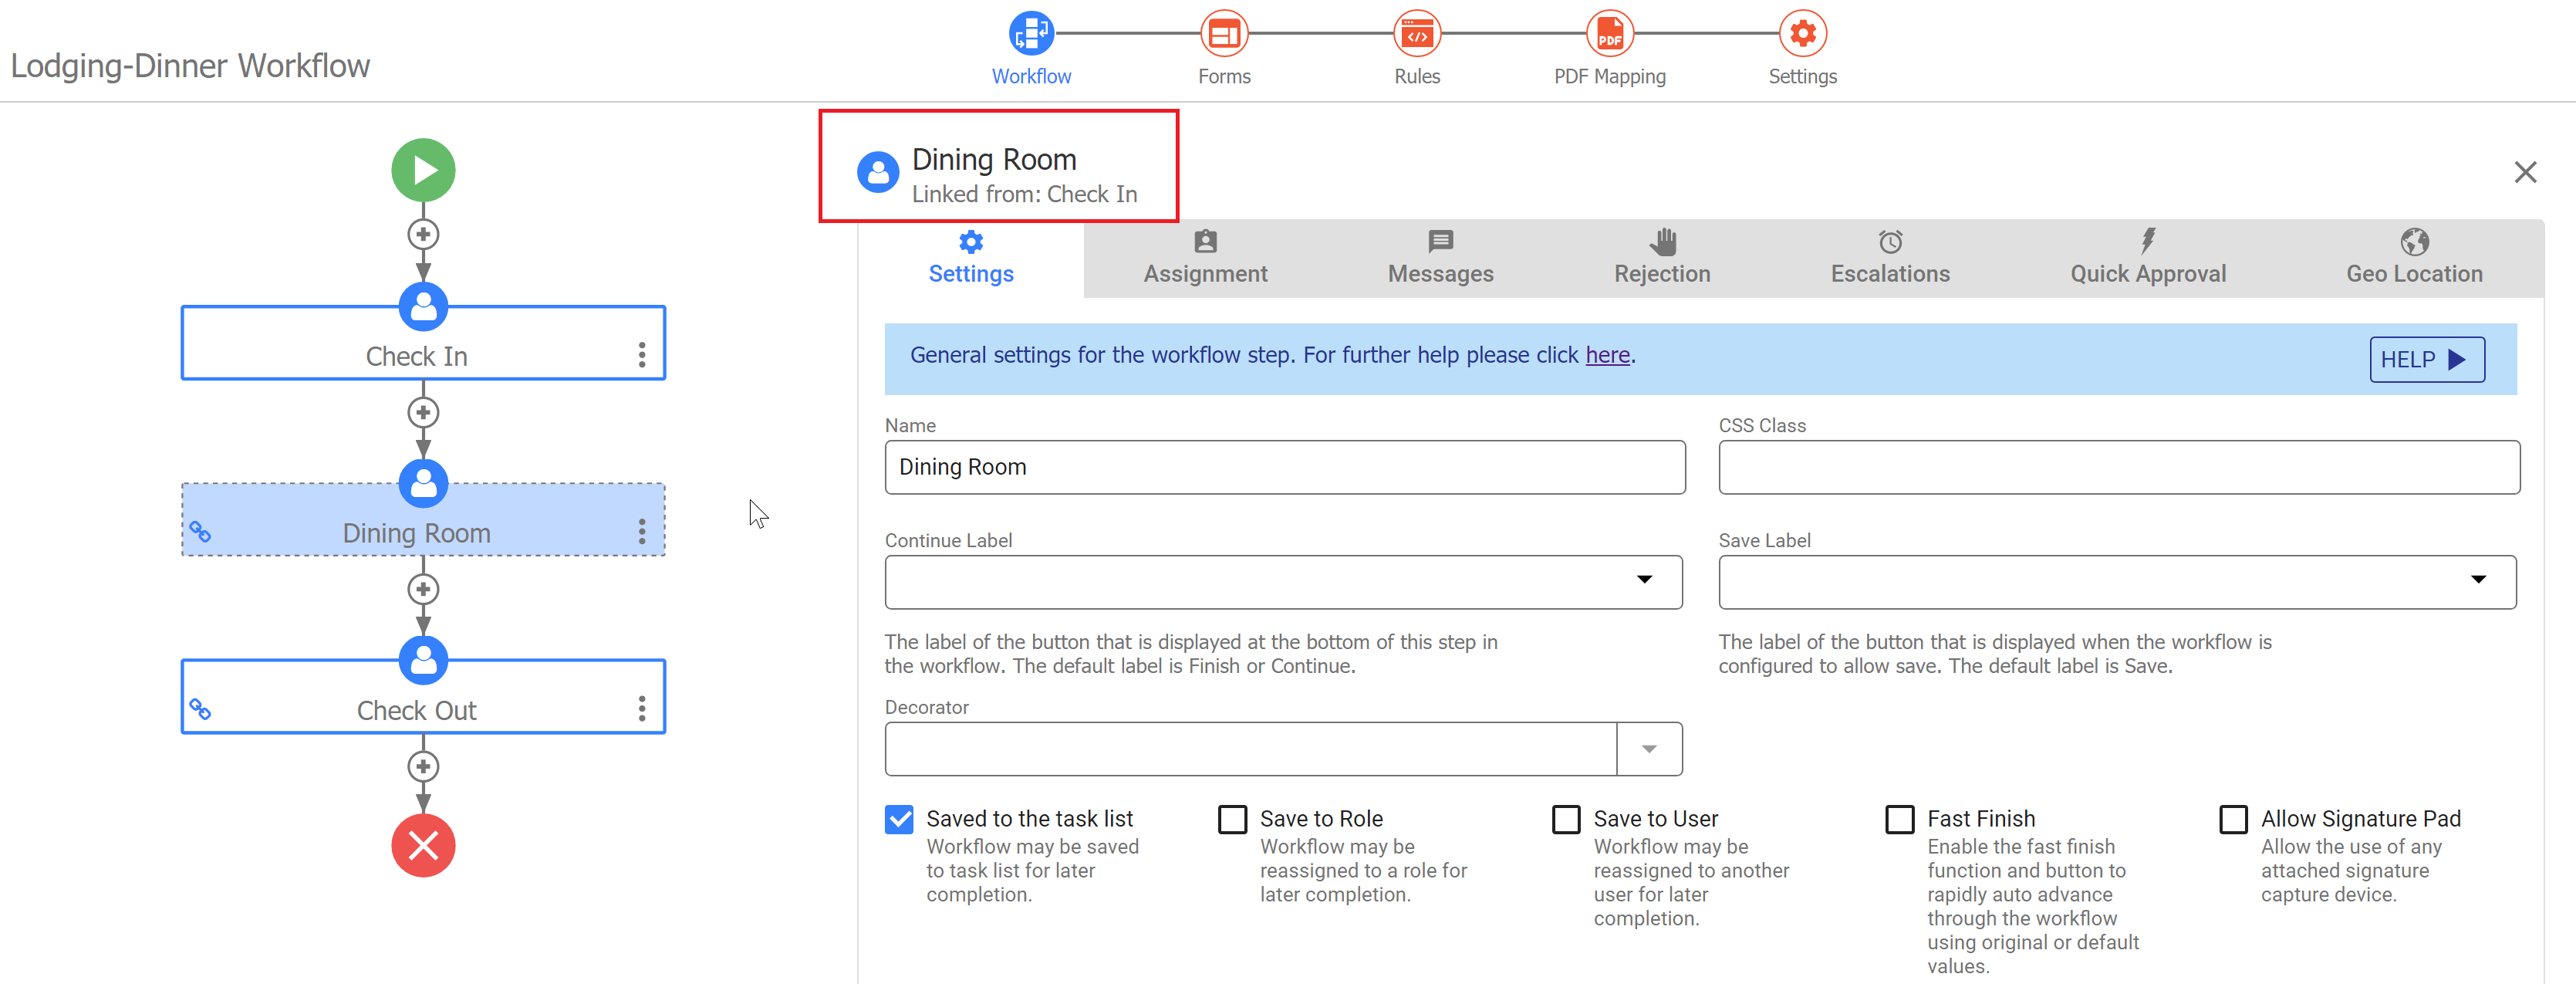
The new step will appear on your workflow diagram and the Step Properties will open on the page. The Step Name and "Linked from: <Parent Step Name>" are listed above the Step Properties wizard.
Linked Steps Workflow Example
...
HTTP Wait-Notify is a step , configured with a post url, URL that can be added to a workflow. The workflow data is posted to this url when the task is executed. A call back url is included in the post. The workflow and task are suspended until the receiver posts back. The timezone must be added programmatically by the service you are using. HTTP steps can be performed by an anonymous user.
...
Click on the HTTP step and open the Settings tab. Enter the URL for your post. In the image below, we are entering the URL to a remote test server running a service that can be used to test this feature:
Code Block httphttps://<server>:<port>app.frevvo.com/services/testtestyanf
- Configure Email or a post to a web application if required. These actions will be performed when the HTTP step is completed.
...
This URL is used by the remote service to “wake” up the frevvo workflow. Any document actions configured will be performed and the frevvo workflow will resume. Workflow visibility can be set to any of the choices.
You cannot reset a workflow to an HTTP step. Look for the status of WAITING in the Audit Trail to find HTTP steps in a workflow that are in a suspended state.
...
The Summary step type will simply display a summary view of the data that has been entered into the various steps of the workflow prior to the Summary step at runtime. Clicking on the Details button navigates to the selected step for viewing/editing. The designer selects the fields to display in the Settings mode Summary Fields tab. Usually, you will choose a sample of the fields that provide a summary of the information entered.
To add a Summary step, click the + icon in the place you want to add the step. This launches the Add Step wizard.
...
Previously completed steps in a workflow can be viewed by all users but editing data is only allowed for the user that initiated the workflow. For example, if the Summary step is part of a screenflow performed by the same user, editing is allowed when this user clicks on the Details button. Once the workflow navigates to a different user, previous steps are rendered read-only and cannot be edited. Refer to Navigating Between Steps for more information.
The Print button is available on Summary steps by default. Refer to Printing Workflows for the details. The designer can specify a CSS class, a Button label and a Decorator for the Summary step on the Settings property tab.
Existing Forms
You can also add a form you have already created and which is listed in your current project's forms home page. Adding an existing form to the workflow creates a copy of that form. If you later edit the standalone form, those changes will not affect the step in the workflow. It remains as it was at the time you copied it into the workflow. If you want to update the workflow to have a new copy of the form, delete the step from the workflow and re-add the updated form.
...
Workflows where one form gets routed to a lot of people and they all have to work on it collaboratively, typically use the Linked steps approach.
| Note |
|---|
There are several design paradigms for workflows that you may want to consider depending on your workflow requirements. You can find examples of each type here. |
...
One common design pattern is a workflow with multiple separate forms where you want data entered on one form to be visible on another form. In this case, the frevvo natural behavior of merging data based on Control Name is very helpful. If you have a control with the same name (and, if applicable, nested section name) on Form A and Form B, data entered on Form A will be visible on Form B. However, if the value is edited on Form B, the new value will overwrite the original value in the final submission. A best practice is to disable the control on Form B making it read-only. Please review the Form Control Names & Schemas section below for additional details.
...