Live Forms v7.4 is no longer supported. Please visit Live Forms Latest for our current Cloud Release. Earlier documentation is available too.
Getting Started
- Former user (Deleted)
- Former user (Deleted)
The ™ Getting Started Guide takes you through the process of designing, deploying and using your first simple form/flow. You'll quickly see how easy it is to create forms and flows with
. You must have a
Cloud account or a working in-house installation.
Creating Forms and Flows
Thanks for using Live Forms. We recommend the following Tutorials to help you get started quickly.
- Forms Tutorial. This provides a quick introduction to using the Live Forms Designer to create forms and goes through some of the main features that are used most frequently.
- Workflow Tutorial: Live Forms offers powerful capabilities for routing forms around for approvals and signatures. This Tutorial gives you a comprehensive overview to learn about how to create approval workflows.
- Database Connector Tutorial: With Live Forms, you can create dynamic forms that connect to your database, populate controls from the database, update drop down controls dynamically etc. This Tutorial works through several examples demonstrating various features.
If you'd rather jump directly into more detailed documentation describing how to design, deploy and use ™ use the navigation links to the left.
Video demonstrations and tutorials are available for those who prefer to learn via those methods.
Logging In
The superuser admin username is admin@d. If you are using on-premise, you will need to log in as the superuser admin to create a tenant. Cloud customers can skip this step as your tenant was created for you when you signed up.
To log In to :
1) Open the login page in your browser.
Online: http://app.frevvo.com
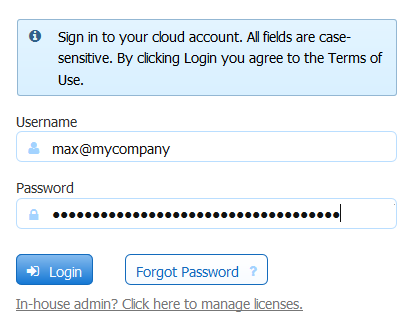
2) Enter your username and password.
- username = <your userId>@<tenantId>
- password = <your selected password>

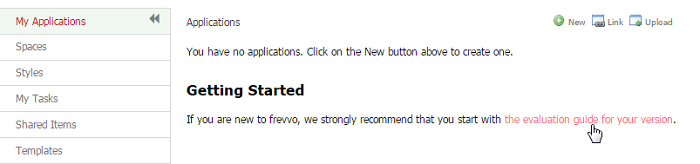
The page that displays is called the Application Home Page. If you are new to Live Forms and have not created any applications yet, you will see the following Getting Started message: Click the link to navigate to the Evaluation Guide for your version.
Forgot Password?
users who have forgotten their password and wish to reset it must have access to their email in order to do so. Here's how it works:
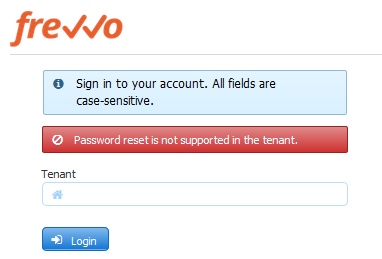
- Enter their userId@tenant and then click the Forgot Password button. The Password Change Request screen displays.

- An confirmation email is sent to the address associated with the frevvo user id.
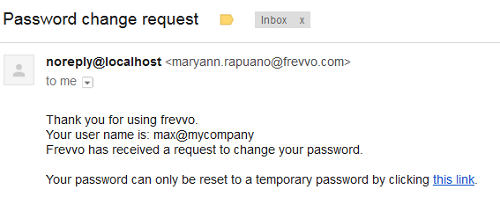
- Click the link included in the email to reset your password with a temporary password. You will see the Password Changed screen.

- An email is sent to the address associated with the frevvo user id. providing the reset password and a link to log in.
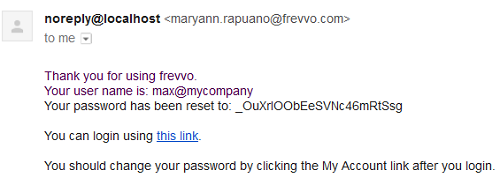
- Click the link in the email to take you to the
- Click the Manage Account Link in the top right corner of the screen.
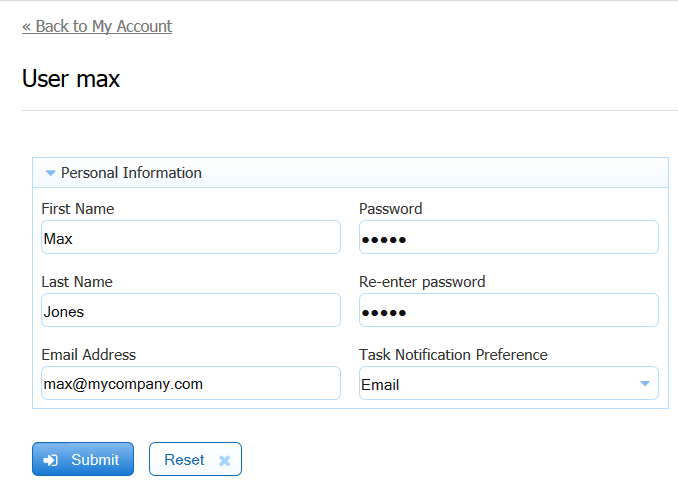
- Change the password on the Manage Personal Information screen to one of your choice.

This method can be used to reset the password for tenant administrators and for the superuser (admin@d) for in-house installations.
- If a user tries to access same email password reset link again after the password has been changed, they will be directed to the login page. If a user generates multiple password reset links, then uses one to change the password, then clicking on subsequent links will direct them to the login page.
The Forget Password feature is not supported for users in a SAML tenant. If SAML tenant users browse the URL frevvo/web/login, enter their login id then click Forgot Password, they will see the following error message: