This documentation is for frevvo v10.0. Not for you? Earlier documentation is available too.
Testing Workflows
- Former user (Deleted)
- Megan Ellis
There are two ways you can test your workflows.
Method 1: Click the ![]() save and test icon from within the workflow designer to save the changes to your workflow and automatically display the test popup window. Complete the workflow in the popup window to test it. When your testing is completed and the test mode screen is closed you will be returned to page in the workflow designers where you clicked the save and test icon. This makes it easy to make additional changes.
save and test icon from within the workflow designer to save the changes to your workflow and automatically display the test popup window. Complete the workflow in the popup window to test it. When your testing is completed and the test mode screen is closed you will be returned to page in the workflow designers where you clicked the save and test icon. This makes it easy to make additional changes.
Method 2: Click the ![]() save and close icon on the Workflow Designer toolbar to save the changes to your workflow and exit the workflow designer. Then click the
save and close icon on the Workflow Designer toolbar to save the changes to your workflow and exit the workflow designer. Then click the ![]() Test icon for the workflow on the Forms and Workflows Home Page to enter Test Mode. Complete the workflow in the popup window to test it.
Test icon for the workflow on the Forms and Workflows Home Page to enter Test Mode. Complete the workflow in the popup window to test it.
Both methods display the test mode popup which includes the Test Mode Views discussed below.
It is important to note that both Test methods allow the designer to test the steps of a workflow until the workflow is routed to a different user. Once a step is routed to a different user, testing must continue by Using the Task List. For example,
- An Employee On-boarding workflow typically consists of multiple steps that are performed by the same user. These steps are usually individual forms. We refer to these steps as a frevvo screenflow, The designer can test the steps of a screenflow using both Test methods until the workflow is routed to the new employee's manager for approval. Then the designer must log out as the employee, login to frevvo as the manager to continue testing.
- Approval workflows, such as an Expense Report, typically are created as Linked Steps. In this form paradigm, all design and business rules for the workflow are added to Step 1. Both test methods allow the designer to thoroughly test Step 1.
The Workflow Tutorial is a fabulous way to learn how to test your workflows.
The Save and Test feature is not available for frevvo customers integrating with Confluence.
On This Page:
Method 1 - Save And Test
The save and test feature reduces workflows development time by allowing designers to test workflows, business rules and mapped PDFs without leaving the workflow designer. Modifications needed after testing can be quickly addressed since you will still be in the workflows designer once you close the popup window. This is particularly helpful when building, troubleshooting, and testing workflows, business rules and mapped PDFs.
When the ![]() save and test is clicked, the workflows is saved in the background, and the frevvo Test popup window displays reflecting the newly saved version of your workflows. The workflows will behave exactly as it will when users access it. To test the workflows, just complete it as your users would and click Submit. When you close the Test popup, you will be on whatever designer page you were on when the save and test icon was clicked. This allows the designer to go right back to making changes after closing the Test popup.
save and test is clicked, the workflows is saved in the background, and the frevvo Test popup window displays reflecting the newly saved version of your workflows. The workflows will behave exactly as it will when users access it. To test the workflows, just complete it as your users would and click Submit. When you close the Test popup, you will be on whatever designer page you were on when the save and test icon was clicked. This allows the designer to go right back to making changes after closing the Test popup.
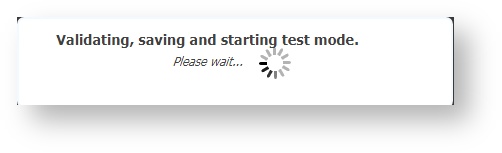
- An informational processing message as shown in the image is displayed after the icon is clicked until the test window opens.
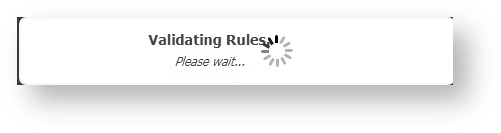
- If your workflows contains business rules they will be validated before the test popup displays and you will see this message:
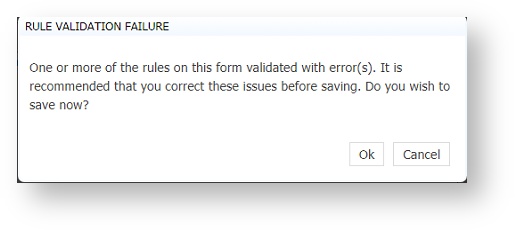
- If workflows/field validation errors are detected, closing the test popup returns you to the designer where you can quickly make the correction and retest. If rule validation errors are detected, the designer is notified and given the option to correct before the Test popup is displayed.
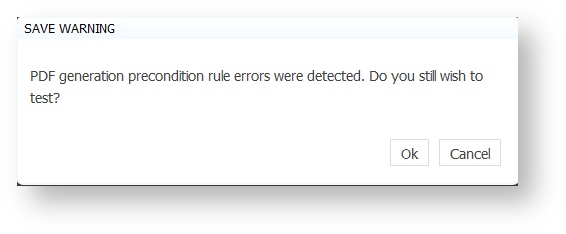
- Save and Test detects errors in workflow/PDF preconditions by displaying a warning message with information about the error.
- The workflows version increases by 1 every time you click on the save and test icon. It is reflected on the on the workflow edit page, when viewing/editing submissions and when you download/upload a workflow.
If you use the Save and Test feature to save the latest versions when developing your workflows, simply click the![]() Cancel icon when you are ready to leave the designer. Refer to Test Mode Views for information about the features that are available when the test popup displays.
Cancel icon when you are ready to leave the designer. Refer to Test Mode Views for information about the features that are available when the test popup displays.
Browser Popup Blocker Message:
If your browser is configured to block popups, you may see this message the first time you click the ![]() save and test icon. If so, click Ok to open the test window then check your browser settings to allow pop-ups.
save and test icon. If so, click Ok to open the test window then check your browser settings to allow pop-ups.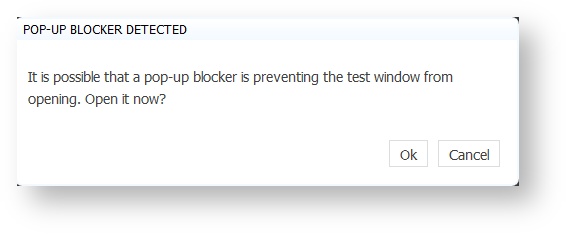
Method 2 - Save then Test
Of course, you can always click the ![]() save and close icon to save the changes to your workflows but you will be returned to the Forms and Workflows Home Page after the changes are stored. The test popup is accessed by clicking the
save and close icon to save the changes to your workflows but you will be returned to the Forms and Workflows Home Page after the changes are stored. The test popup is accessed by clicking the ![]() Test icon. To continue making modifications to your workflows you must click the name of the workflow, or select
Test icon. To continue making modifications to your workflows you must click the name of the workflow, or select ![]() Edit from the
Edit from the ![]() Action Menu to return to the workflows designer for subsequent modifications.
Action Menu to return to the workflows designer for subsequent modifications.
Refer to Test Mode Views for information about the features that are available when the test popup displays.
Test Mode Views
Features that are available when the test popup displays are discussed below.
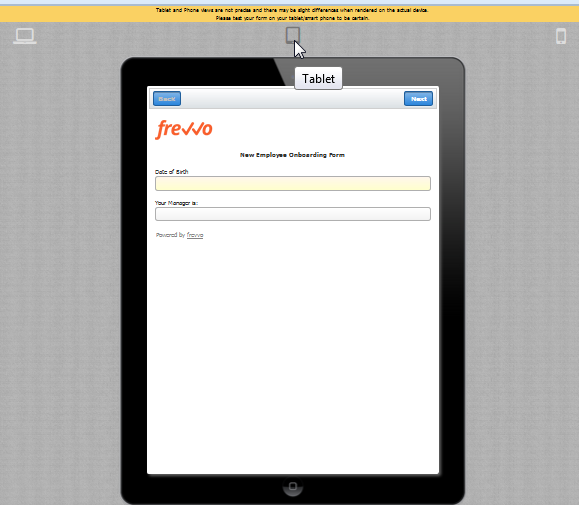
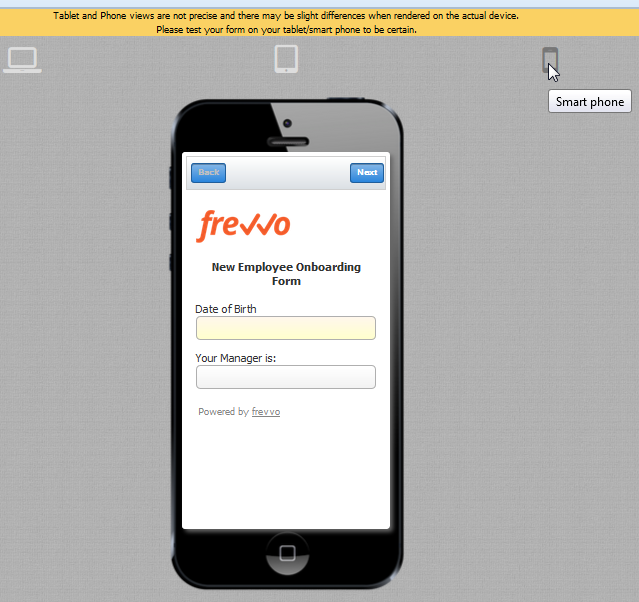
There are three icons in Test mode that you can use to see what your form will look like and how it will work on an iPhone or an iPad. Theses icons appear at the top of the screen - desktop, tablet and smart phone. The default view is desktop. Clicking on the the tablet and smart phone icons gives you an approximate view of the form on the tablet or phone. You can enter data in the Phone and Tablet views just like you can in the Desktop view to test your form. This is very helpful when designing forms for mobile devices. Tablet and Phone views are not precise and there may be slight differences when rendered on the actual device. It is highly recommended that you test the form on the actual device to be certain.
Step Assignments for Testing
Usually as the designer you want to test the workflow's behavior, including Task Notification emails and business rules that execute on each step. However, you may be hesitant to test your workflow with real User and Role assignments, which will notify these users with each test. One idea is to set up dynamic user and role assignments that will assign each step to test user(s)/role(s) when the workflow is started under a testing condition, such as initiated by the designer user, and otherwise will use the as-designed step assignments. This pattern will allow you test workflows fully in development or production without notifying and cluttering the task list of real users.
First, add a test role and one or more test users, whose emails are are set to your own email(s) so you will be able to view Task Notification and Doc Action emails.
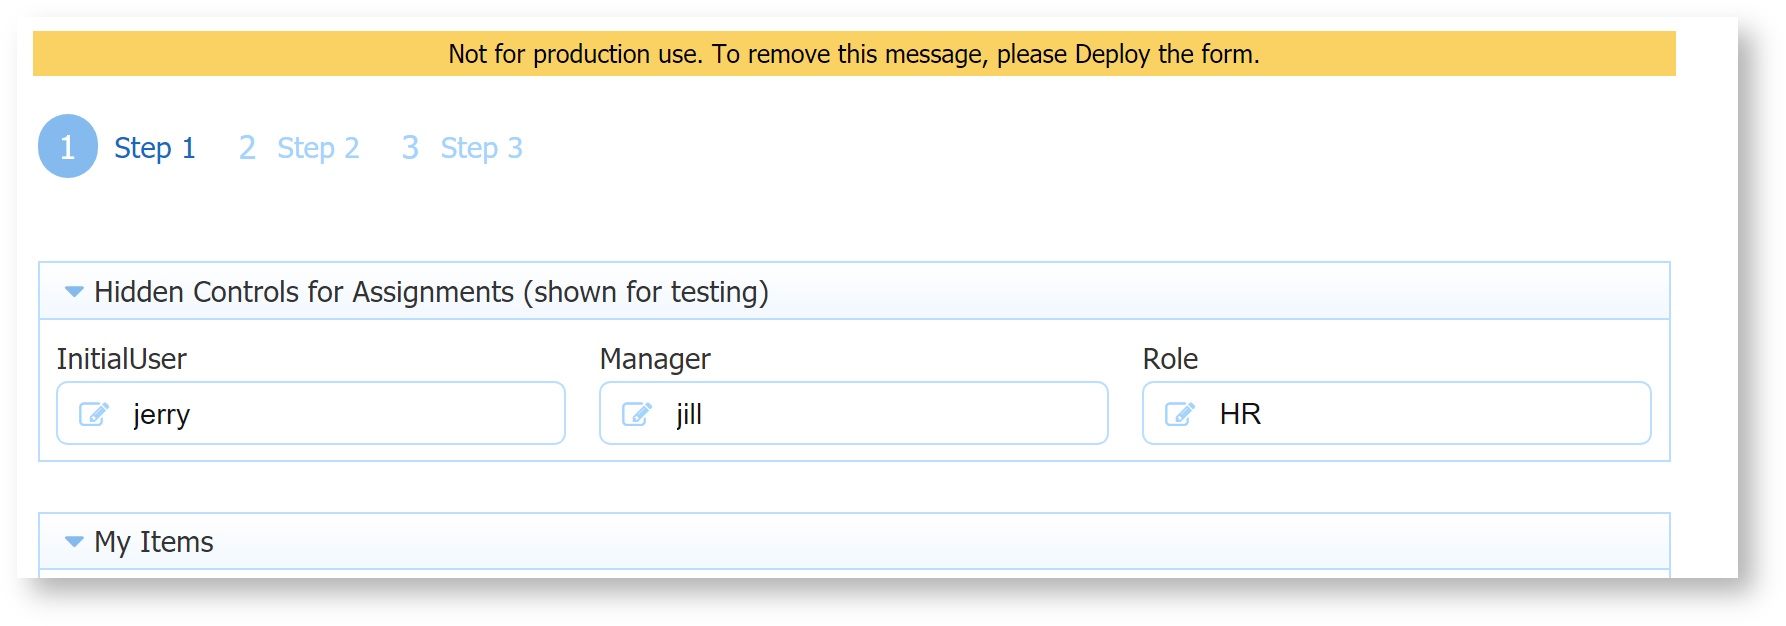
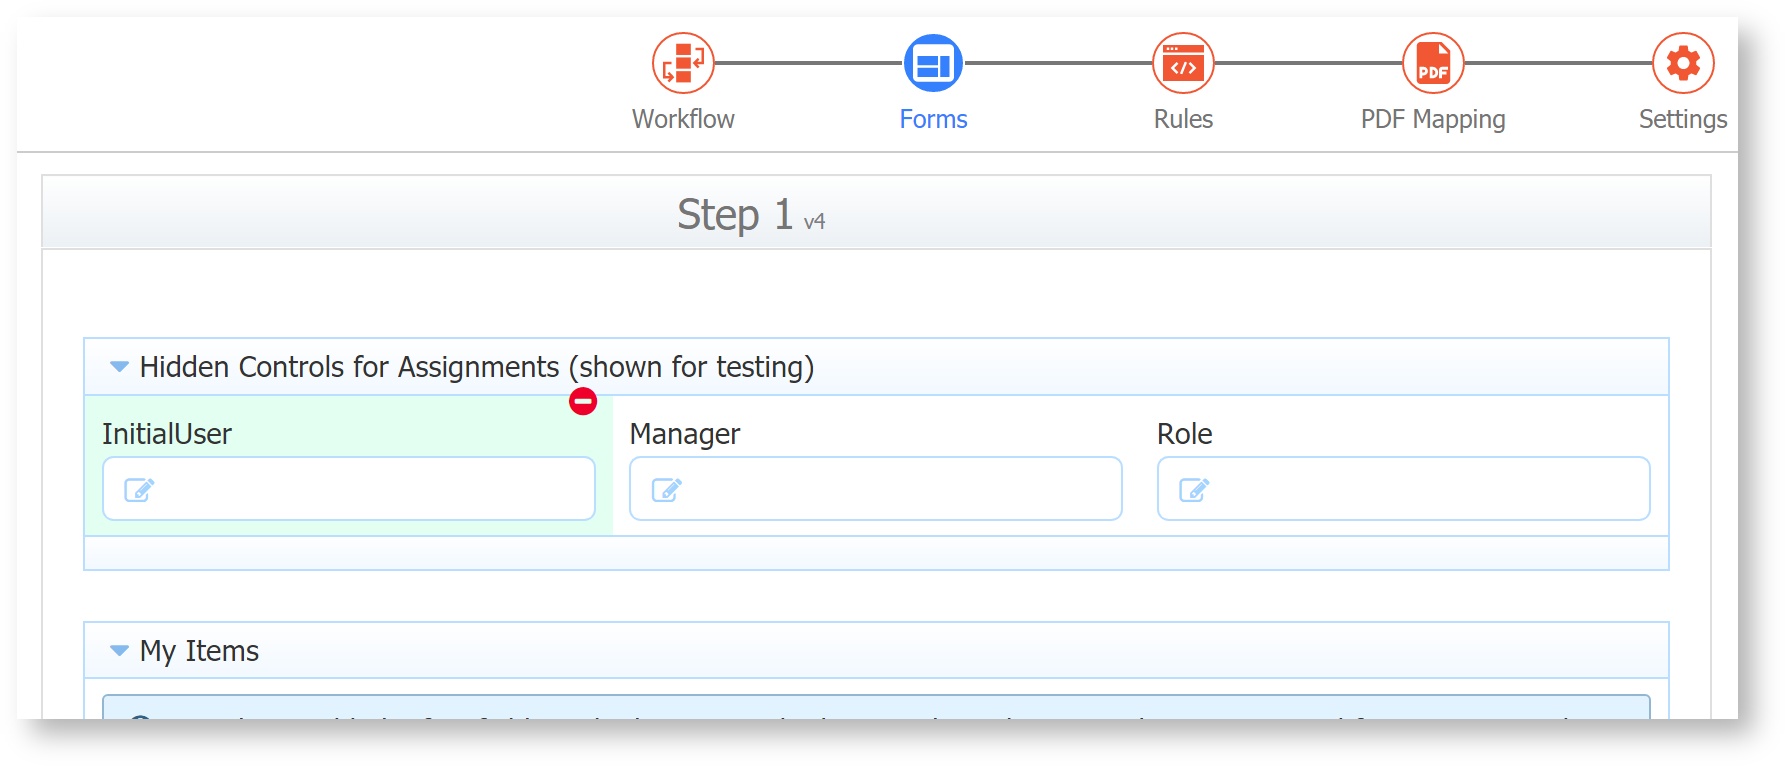
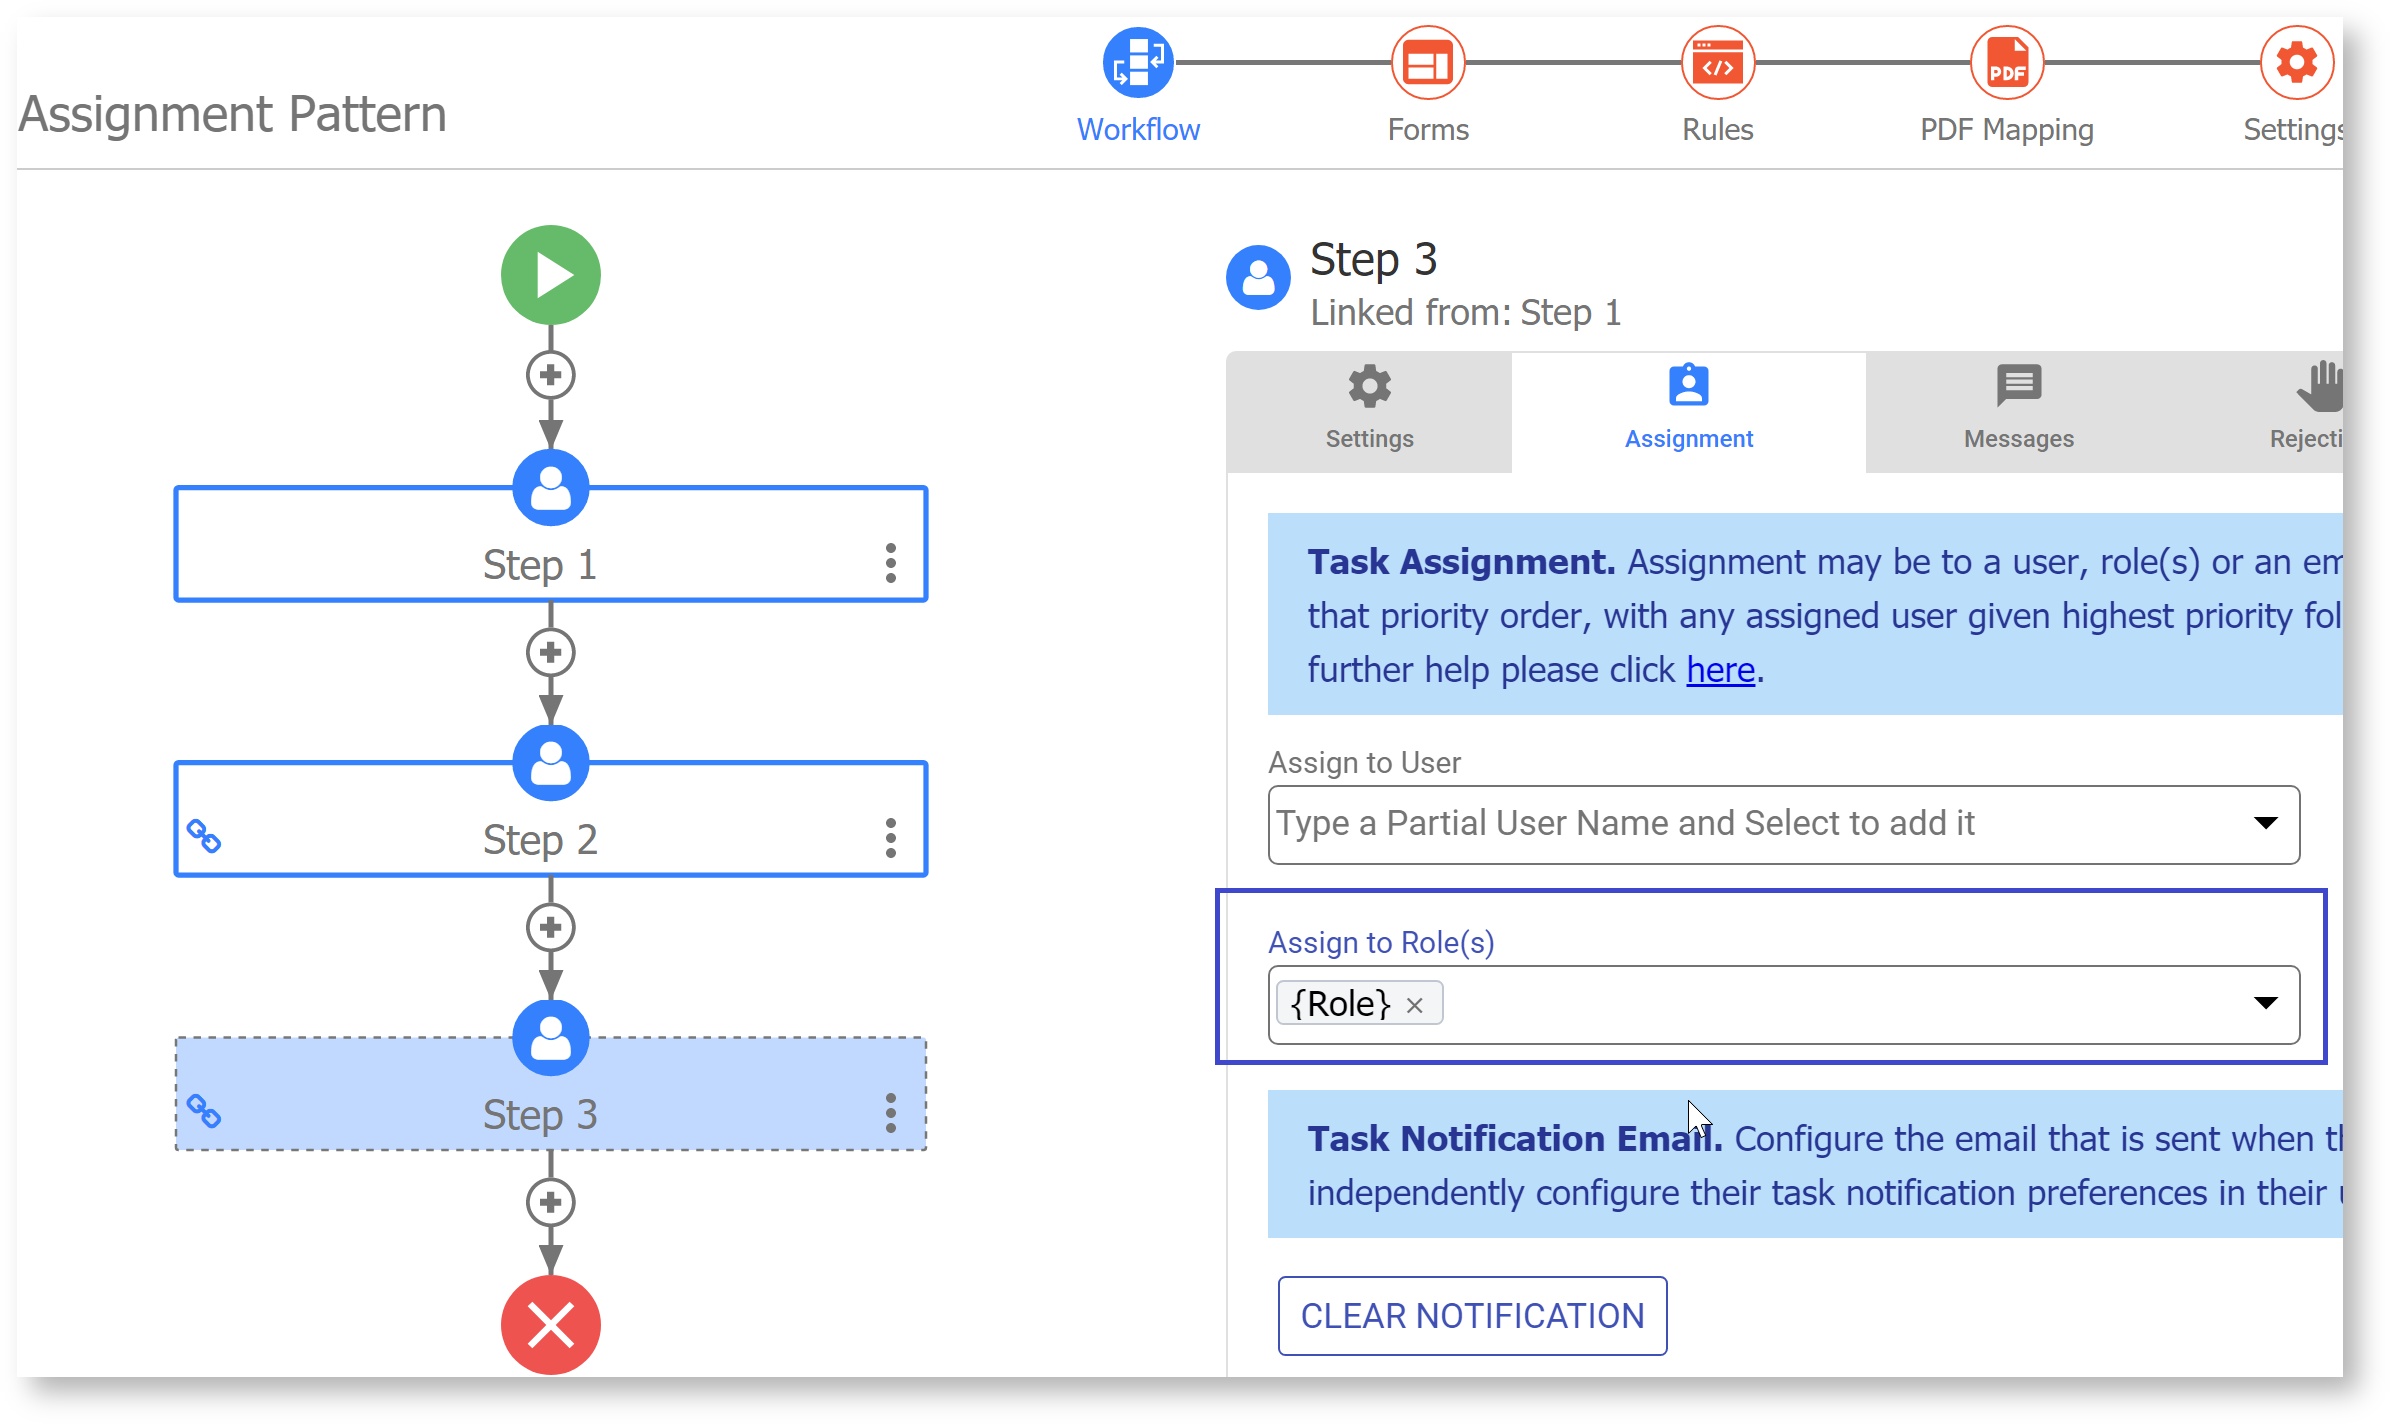
Let's say you have a workflow with three steps. Step 1 is performed by any user, Step 2 is assigned to the user's manager, and Step 3 is assigned to the role "HR". Instead of hard coding these assignments, use controls in your form to set the Manager user and HR role values. Set the step assignments to the template for those controls, i.e. Step 2: {Manager} and Step 3: {Role}
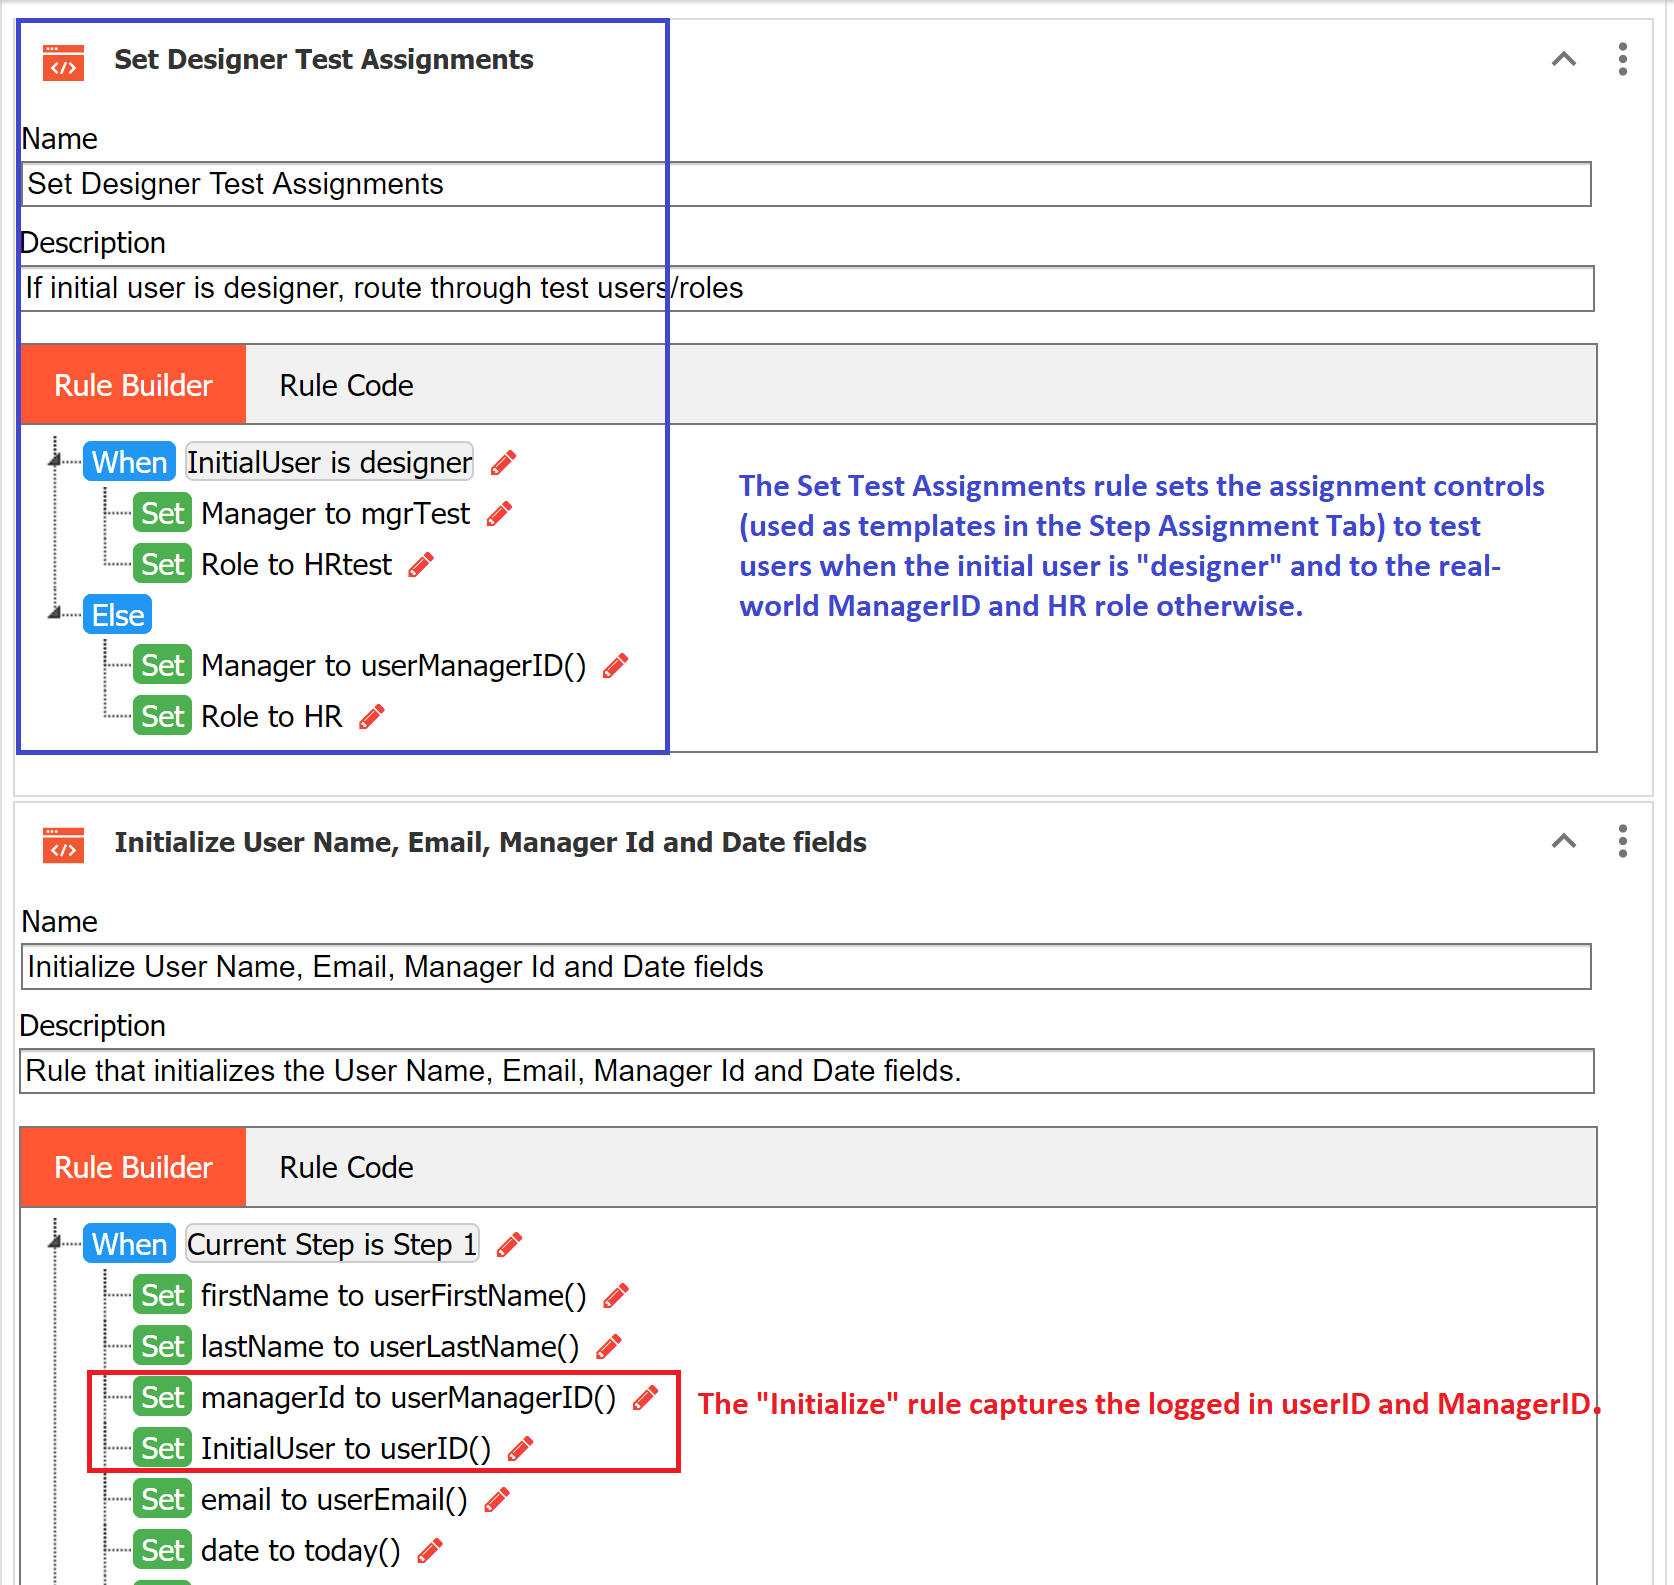
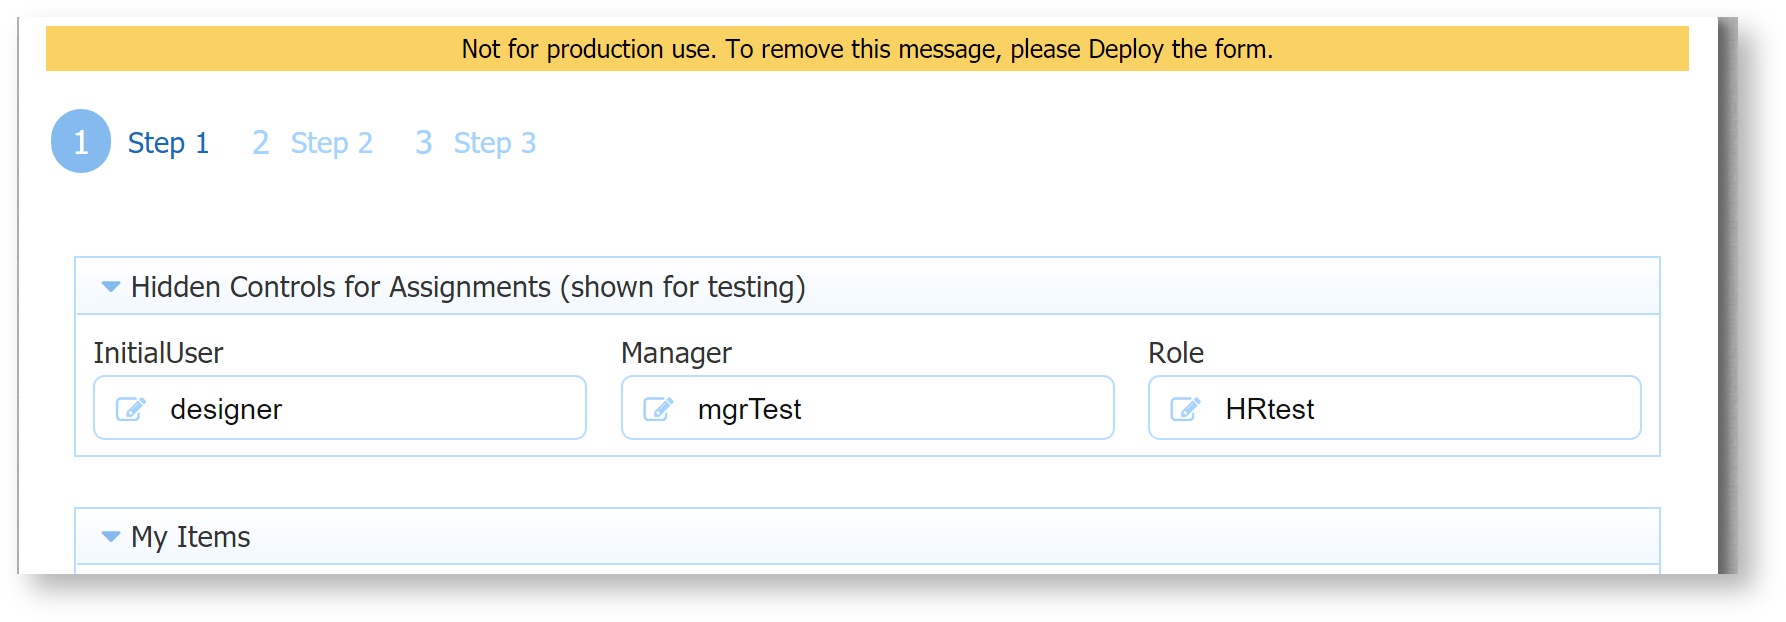
Then add a business rule that checks the initial user's id - if it happens to be "designer", then set the control Manager to your test manager user (mgrTest) and set the control Role to your test role (HRtest). The else action sets these controls to the initial user's manager and the real role "HR".
Test the workflow from your designer user account. You will receive the Task Notifications via your test user's email, and you can log in as the test user(s) to perform the tasks.
When you're ready, start the workflow from some real account. Now it should route through the real-world assignments as expected.