This documentation is for Live Forms 9.1. v9.1 is a Cloud Only release. Not for you? Earlier documentation is available too.
COVID-19 Response Info: At frevvo, our top priorities have always been employees and customers. We have taken several steps to promote the well-being of our people, to minimize services disruptions, and to help where we can. Visit our website for updates.
Adding Steps to a Workflow
- Former user (Deleted)
- Megan Ellis
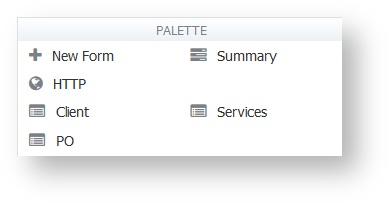
Workflow steps are one of four types:
- Form(s) that you created in the Form Designer
- New Form
- Summary
- HTTP.
- Linked Steps in a Workflow - this is a special type of step used most often for Approval workflows. Click the link for a detailed discussion.
On This Page:
Adding the First Step to a Workflow
Drag a New Form, Existing Form, Summary or HTTP step from the Palette and drop them into the workflow canvas. If you are adding the first step of a workflow, drag the step from the Palette and drop it in the guide box. You will only see the guide box when adding the first step.
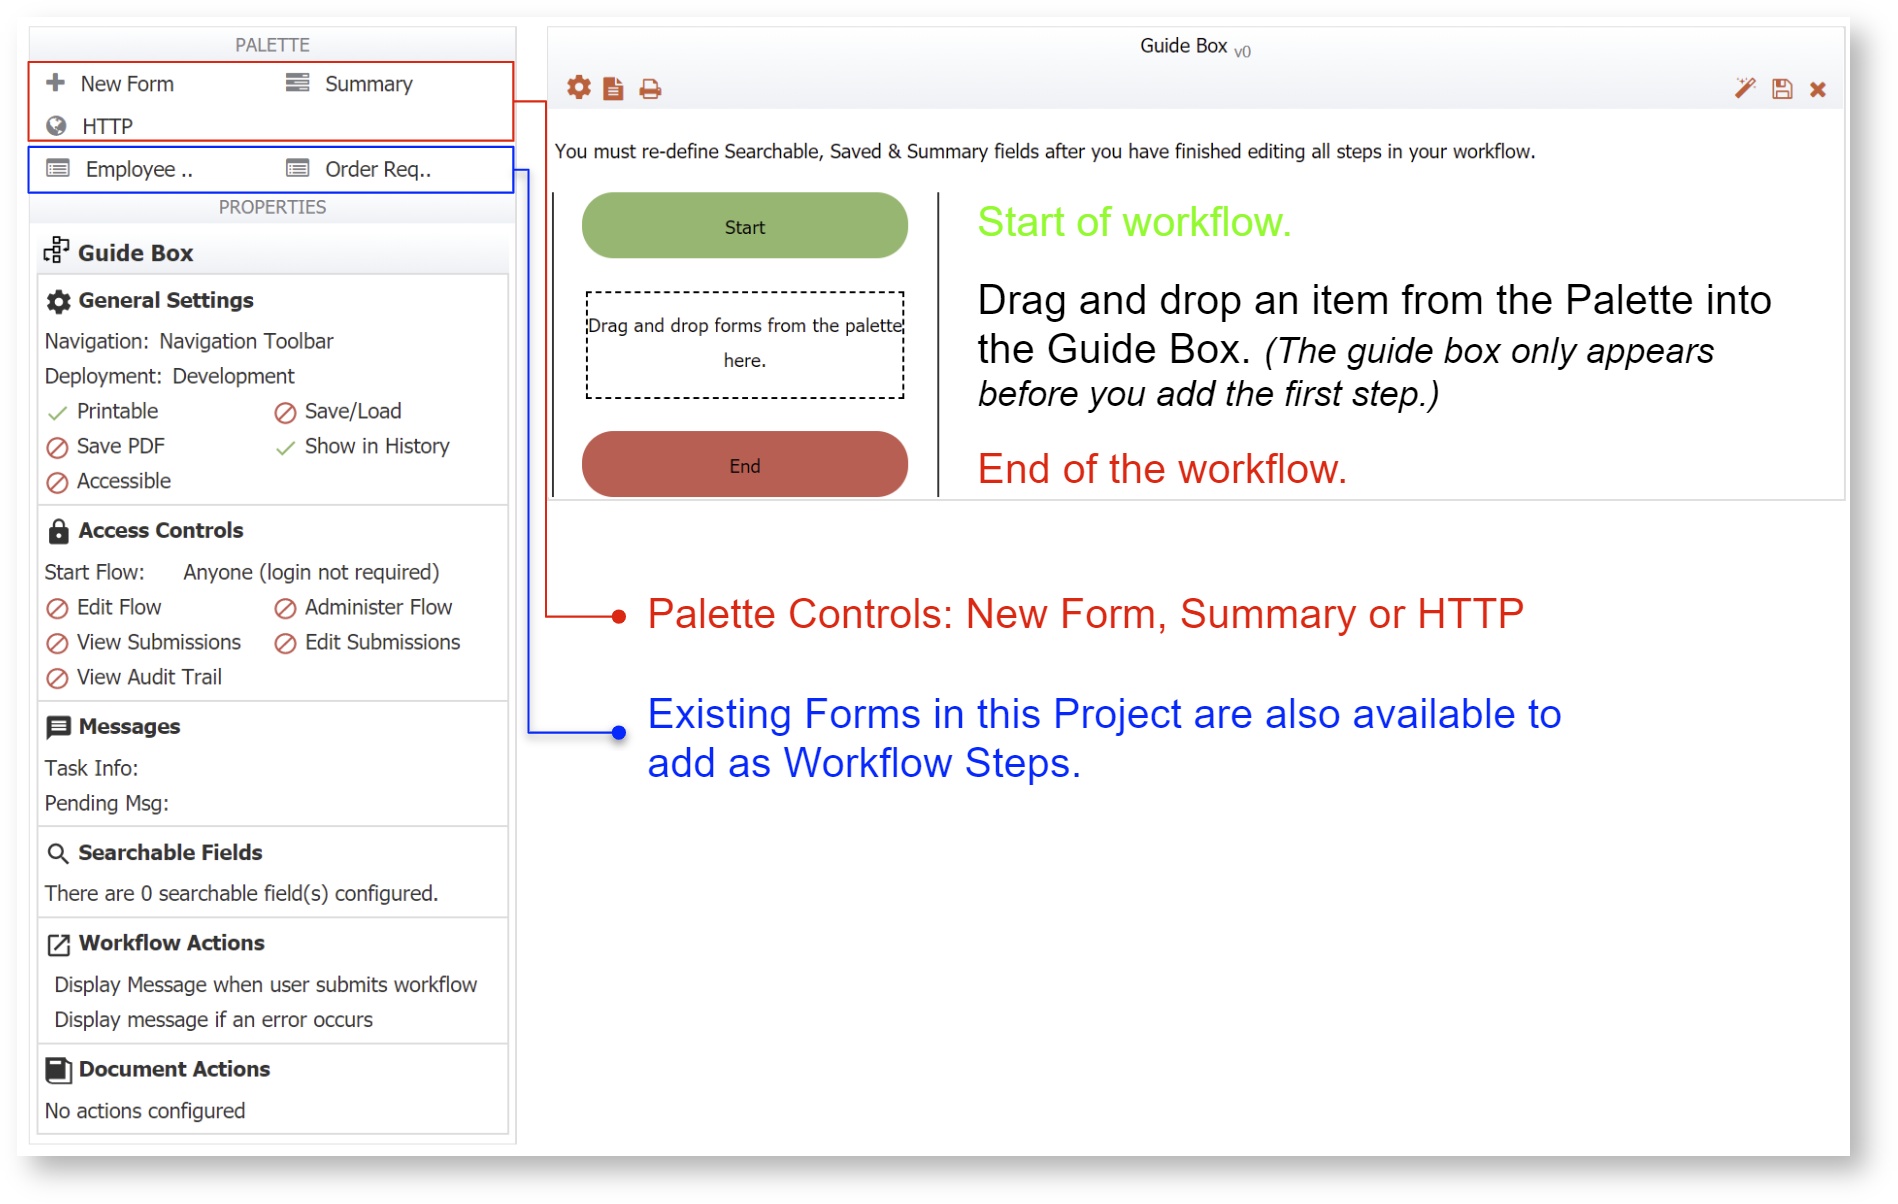
- The Workflow Designer canvas displays the workflow in a flowchart format. The arrows are drawn automatically as the step is dropped on the canvas. This graphical rendering clearly emphasizes the process and workflow routing and makes the designer more intuitive.
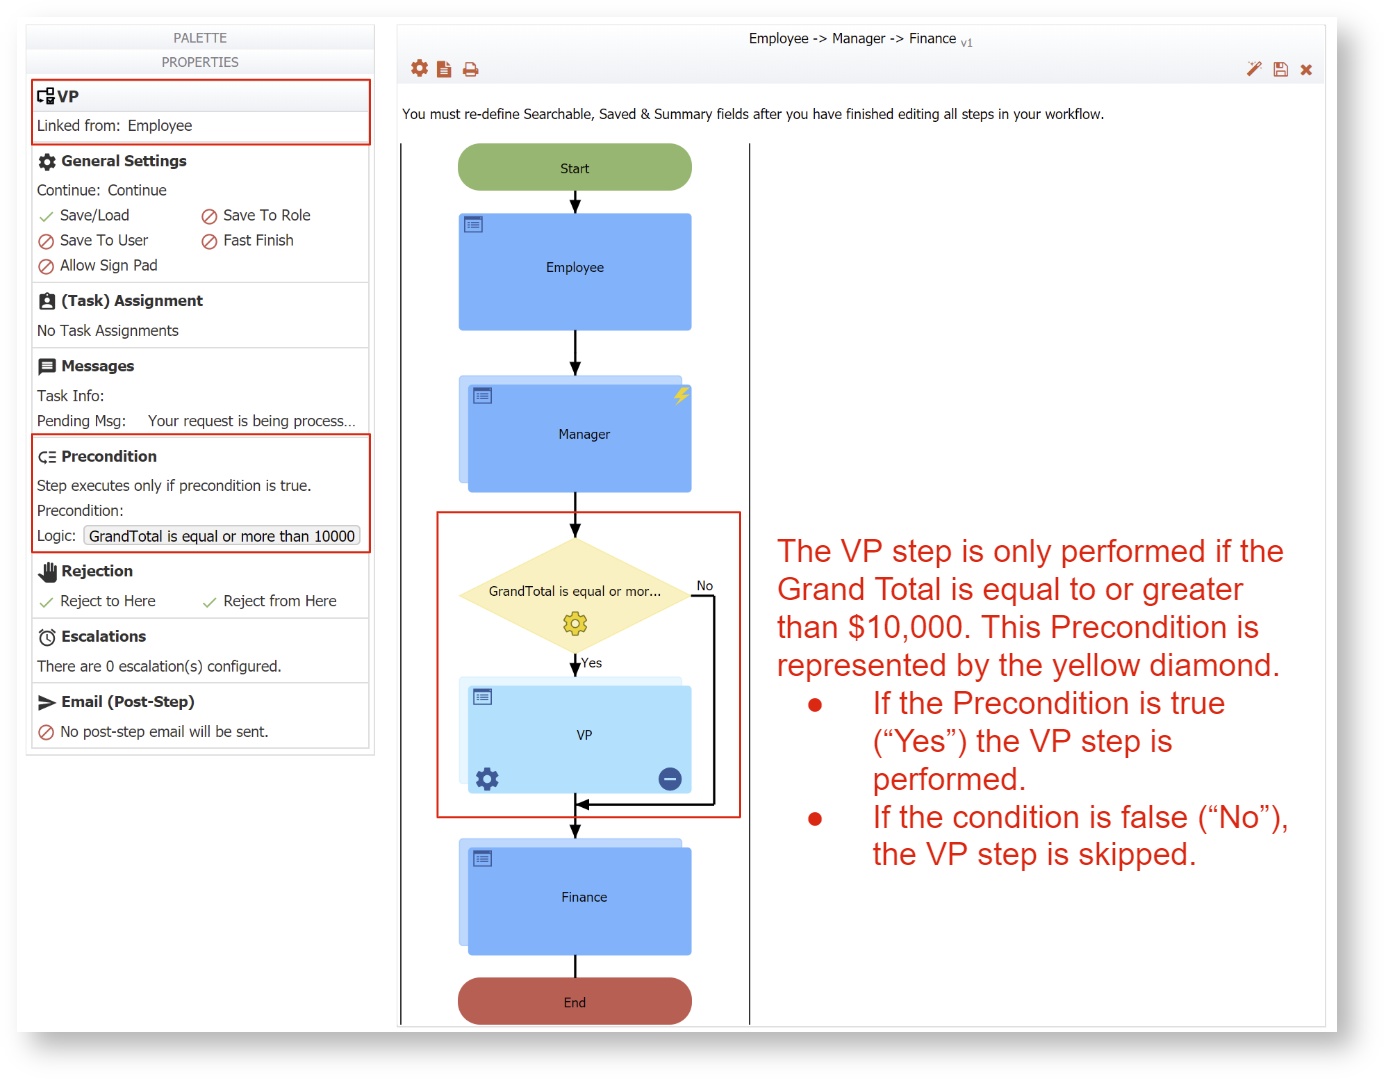
- Adding a pre-condition in the Precondition tab, automatically represents it as a decision box (yellow diamond). The precondition is part of the step that follows it. Clicking on the
 Precondition cog icon in the yellow diamond is one way to go directly to the Precondition tab for editing.
If the following properties are selected in your form, they will be unchanged when you drag and drop this form into a workflow as one of the steps:
Settings:
- Save/Load
- Task Info
- Allow Sign Pad
- Printable
Style:
- Orientation
Adding or Moving Workflow Steps
Help to determine the drop target is provided when dragging and dropping new steps from the Palette or moving existing steps. As you move a step over existing ones, the step that is the drop target will show a flashing green "bulls eye"  to indicate the exact place where the step is to be placed. You cannot drop between a step and its precondition diamond.
Dragging a New Form into the Workflow Designer sets the step name to "Step #" and the form name to "Form #". Dragging a form that was previously created in the form designer sets the step name to "Step #" and leaves the form name unchanged. Use the pencil icon on the step to access the step Properties Panel and rename the step(s).