Control Templates for Common Rules
Previous Section | Next Section
Get the Templates Project
- Download the Templates Project from this link. It will download a zip file to your disk.
- Login to your Cloud or In-house designer account and Upload the zip. It will install a Project.
Publish the Templates
Click Edit on the Templates Project that you just uploaded. It contains a single form named Control Templates. Edit this form. Publish the templates making sure you copy the rules associated with each template. For example, to publish the User Information template, drag the entire section onto the Custom palette header (see image below). The Custom header will turn yellow as drag the control over it, indicating you can drop it.
The Publish Control Template wizard will appear. You may enter any tags and descriptions you desire. If there is a Rules area with checkboxes, make sure you check them all. Check the read-only check box to manage editing of this template.
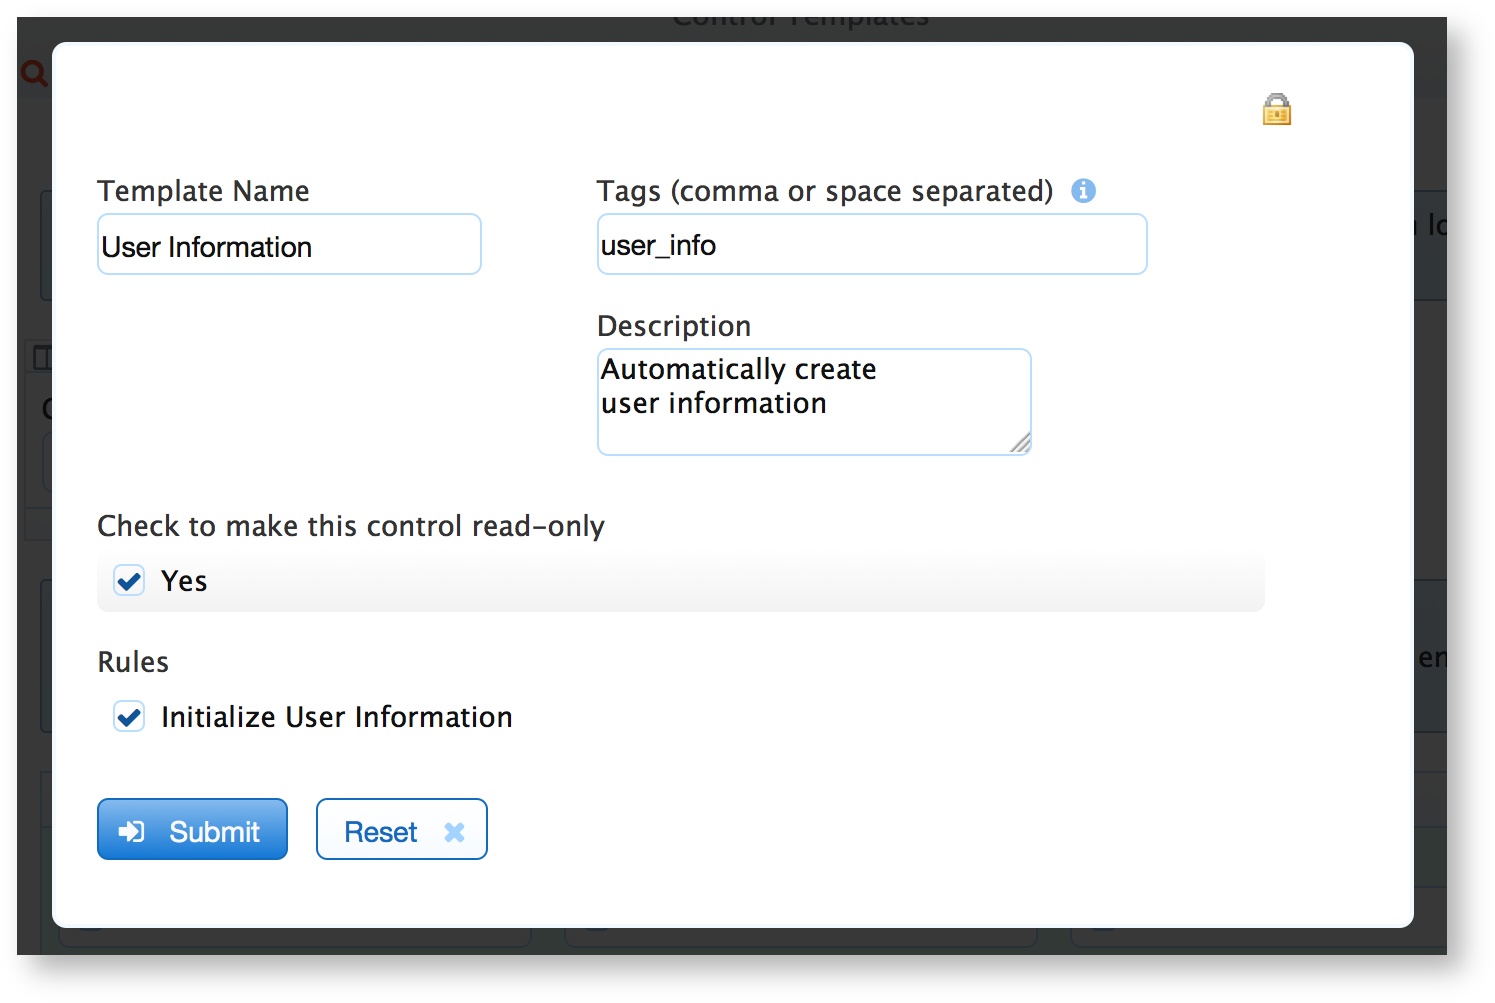
Publish your control template by clicking Submit and then dismiss the wizard.
Repeat the process for all control templates that you're interested in. Once you are done, you can exit the Designer.
Using the Templates
- To use the templates, create a new project and a new form. The Form Designer appears.
- Open the Custom section on left. You should see your templates. If they are not visible, click the Search link and select from the list of available templates.
- Drag and drop templates directly into the Designer.
- Save the form and test it.
- See that the appearance and behavior are both preserved. In particular, rules will be retained.
It's important to note that some aspects of editing will be disabled. For example, you cannot rename or delete a control inside the template. You can change the Label but not the internal name. That's because changing a name or deleting a control could cause the underlying Rules to stop working.
Previous Section | Next Section