Update a Google Sheet
- Megan Ellis
Let's take a look at how you can update existing values in a sheet. It’s another common scenario that can be used for a variety of tasks (e.g. limiting the number of submissions for a particular form or creating a sequentially increasing counter). We’ll use this sample Google Sheet to discuss. It has a row for each employee: Employee Id, Location and Extension.
First, it’s important to note that Google Sheets is not a transactional system like a database and results can be unpredictable if multiple users update the same Sheet at the same time.
On This Page:
Rule syntax and best practices to follow are discussed in the Writing Rules to Retrieve and Update Data in a Google Sheet topic.
Step 1: Obtain an access token
If you do not have an access token for your Google Account, perform this one-time step.
Follow these steps to obtain your Google Account token.
Login to your Google Account
Go to:
Cloud customers: https://app.frevvo.com/google/consent
- In-house customers: http://<your frevvo server domain name>/google/consent
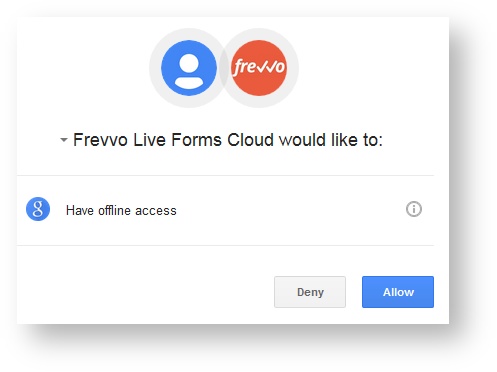
Click Allow if you see a screen like the one below (Google often updates their UI so this may differ from what you see).
Copy the access token. Save it to a safe location, you will use it when configuring your forms/workflows.
- You must obtain a Google access token for every Google Account you wish to use with your forms/workflows. Repeat steps #1-4 above for each Google Account.
- In-house customers with multiple servers must obtain Google Access Tokens for each server / Google Account.
- Google limits the number of access tokens per Google Account. If the token limit is exceeded, older refresh tokens stop working.
- Google may revoke Access Tokens unused for ~6 months. If this happens you must obtain a new token and update your forms/workflows.
Escape the slash characters in your OAuth token with a backslash in the rule below like this: OAuth21\/\/<###...>
Step 2: Add the Business Rule
We’ve created a simple example form. Select the employee, a location, and a new extension number. Click the Update Google Sheet button, wait a few seconds and see that the sheet was successfully updated. We did this using this rule:
/*member password, user*/

if (UpdateGoogleSheet.clicked) {
  var eid = EId.value; // Unique key in the Google Sheet row
  var headers = {"user":"<google id>","password":"<your access token>"};
  var updatequery = '/google/spreadsheets/update/key/<your spreadsheet key>?wsname=Locations&query='+encodeURIComponent('employeeid="' + eid + '"');
  var params ={"location":Location.value,"extension":Extension.value};
  var updateparams = '&updatesjson='+encodeURIComponent(JSON.stringify(params));

  eval('x=' + http.put(updatequery + updateparams, null, headers, false, false));
}
- It’s triggered by clicking on the Update Google Sheet button.
- We setup headers and an update query using your access token and spreadsheet key (the long ID in the URL of the Google Sheet). In this example, the name of the Google Sheet tab is Locations. Change the wsname= parameter to the name of your Google Sheet tab if you named the tab something different.
- On Premise customers need to also specify the server and port where their Google Connector is hosted. The updatequery url will start with '<YourServer:Port>/google/spreadsheets/'.
- Add var params to identify the column names and control values that will update them.
- Add var updateparams to convert the params to a string. Notice that this method uses the parameter '&updatesjson=' to exchange data to/from the Google sheet. When sending data in this manner, the data has to be a string, so we also use the function JSON.stringify(<json variable>) to convert it.
- Run the update – perform an http.put() and eval the results.
The column name on a Google sheet must match the control name. The matching is case-insensitive and any spaces in the column name are ignored. A control named "FirstName" matches a column header "first name." However, references to Google Sheet columns in your rule must be lower case and cannot contain spaces. The correct reference for this example is "firstname."
If your rules were developed with a Google Connector prior to v3.0.5, they used the parameter '&updates=' followed by the concatenated column names and control values, such as:
var updateparams = '&updates='+encodeURIComponent('location='+Location.value+',extension='+Extension.value);
This method is still supported, however, it is no longer best practice. When using this method with text or textarea controls, you will find that if the user enters characters such as a comma or equals sign, the rule will encounter an error. Consider using the '&updatesjson=' method described above for the most reliable behavior.
Step 3: Try it yourself using the sample form
Update Multiple Rows from a Table or Repeat Control
You can use a similar rule with a table or repeat control in order to update multiple Google Sheet rows in a single form. To accomplish this, we use a combination of the above rule and a modification of this example of generating a sequential number using a Google Sheet.
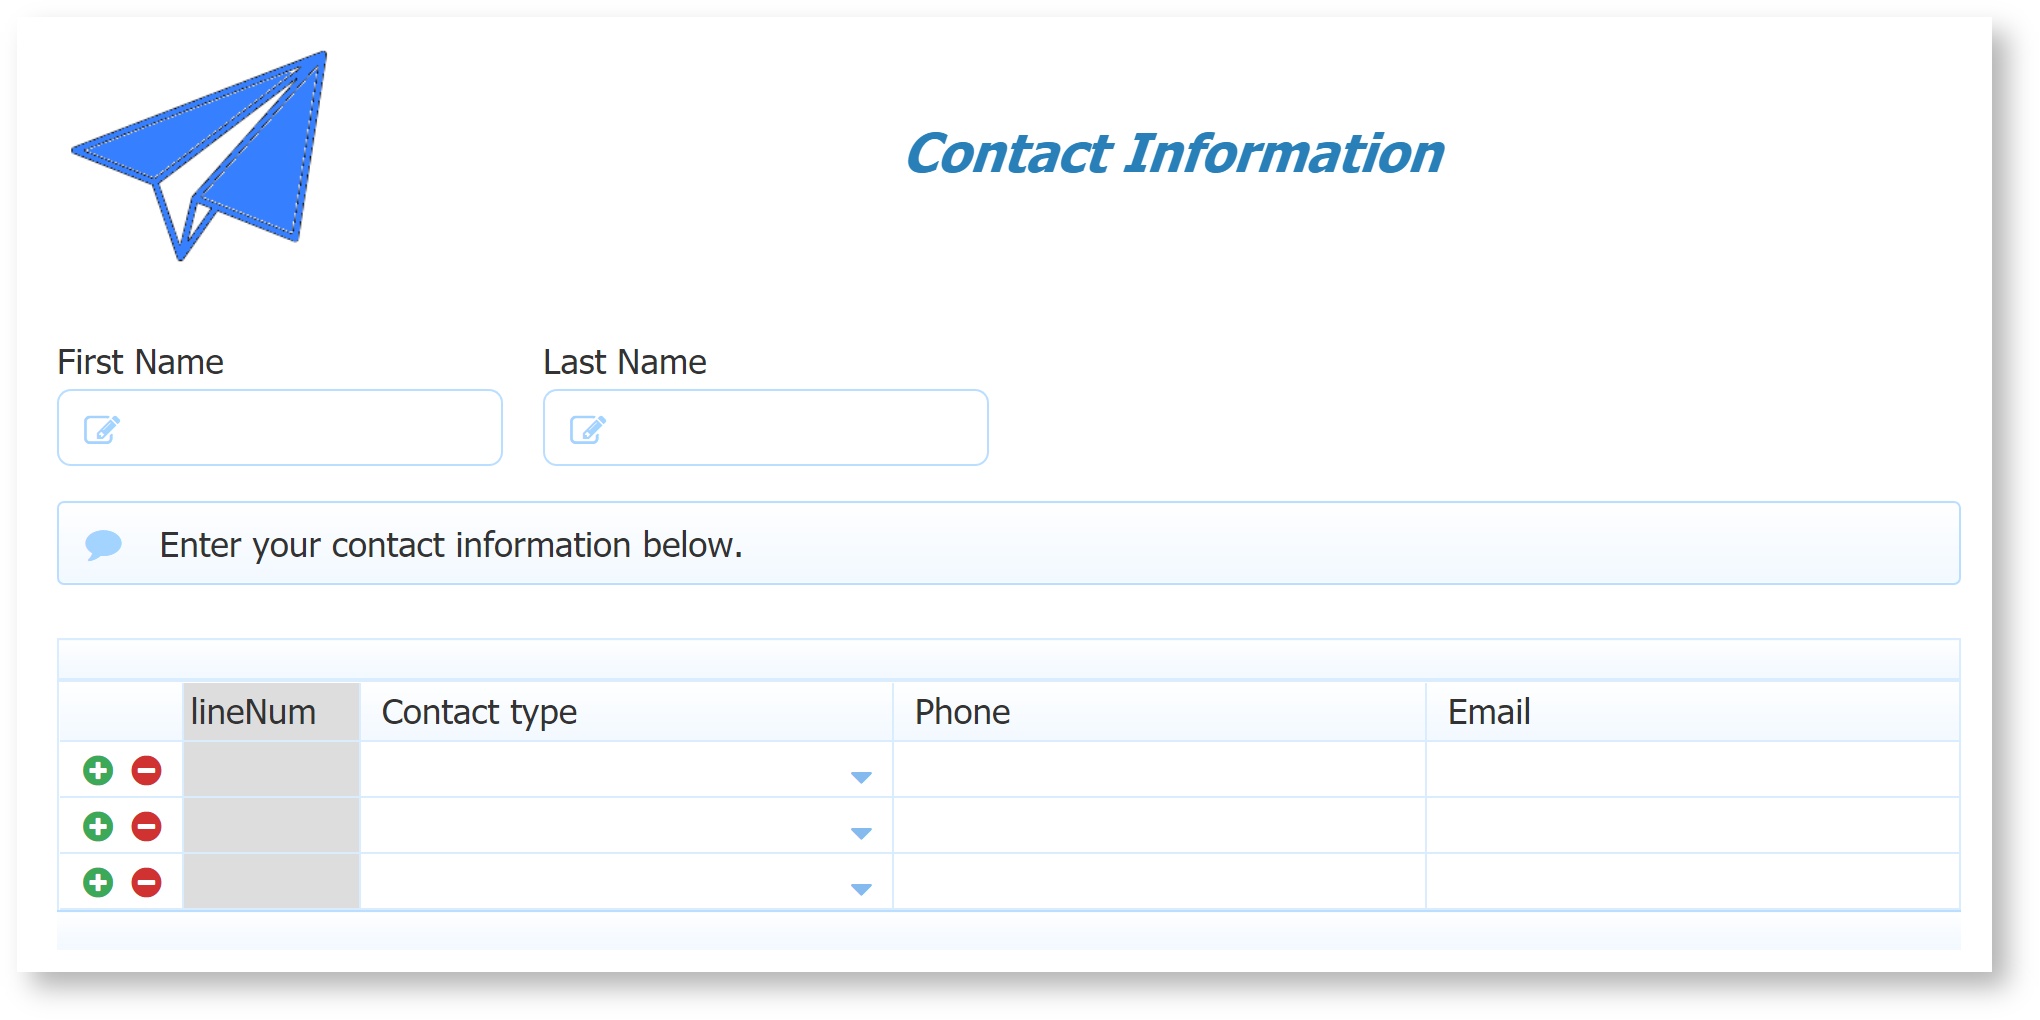
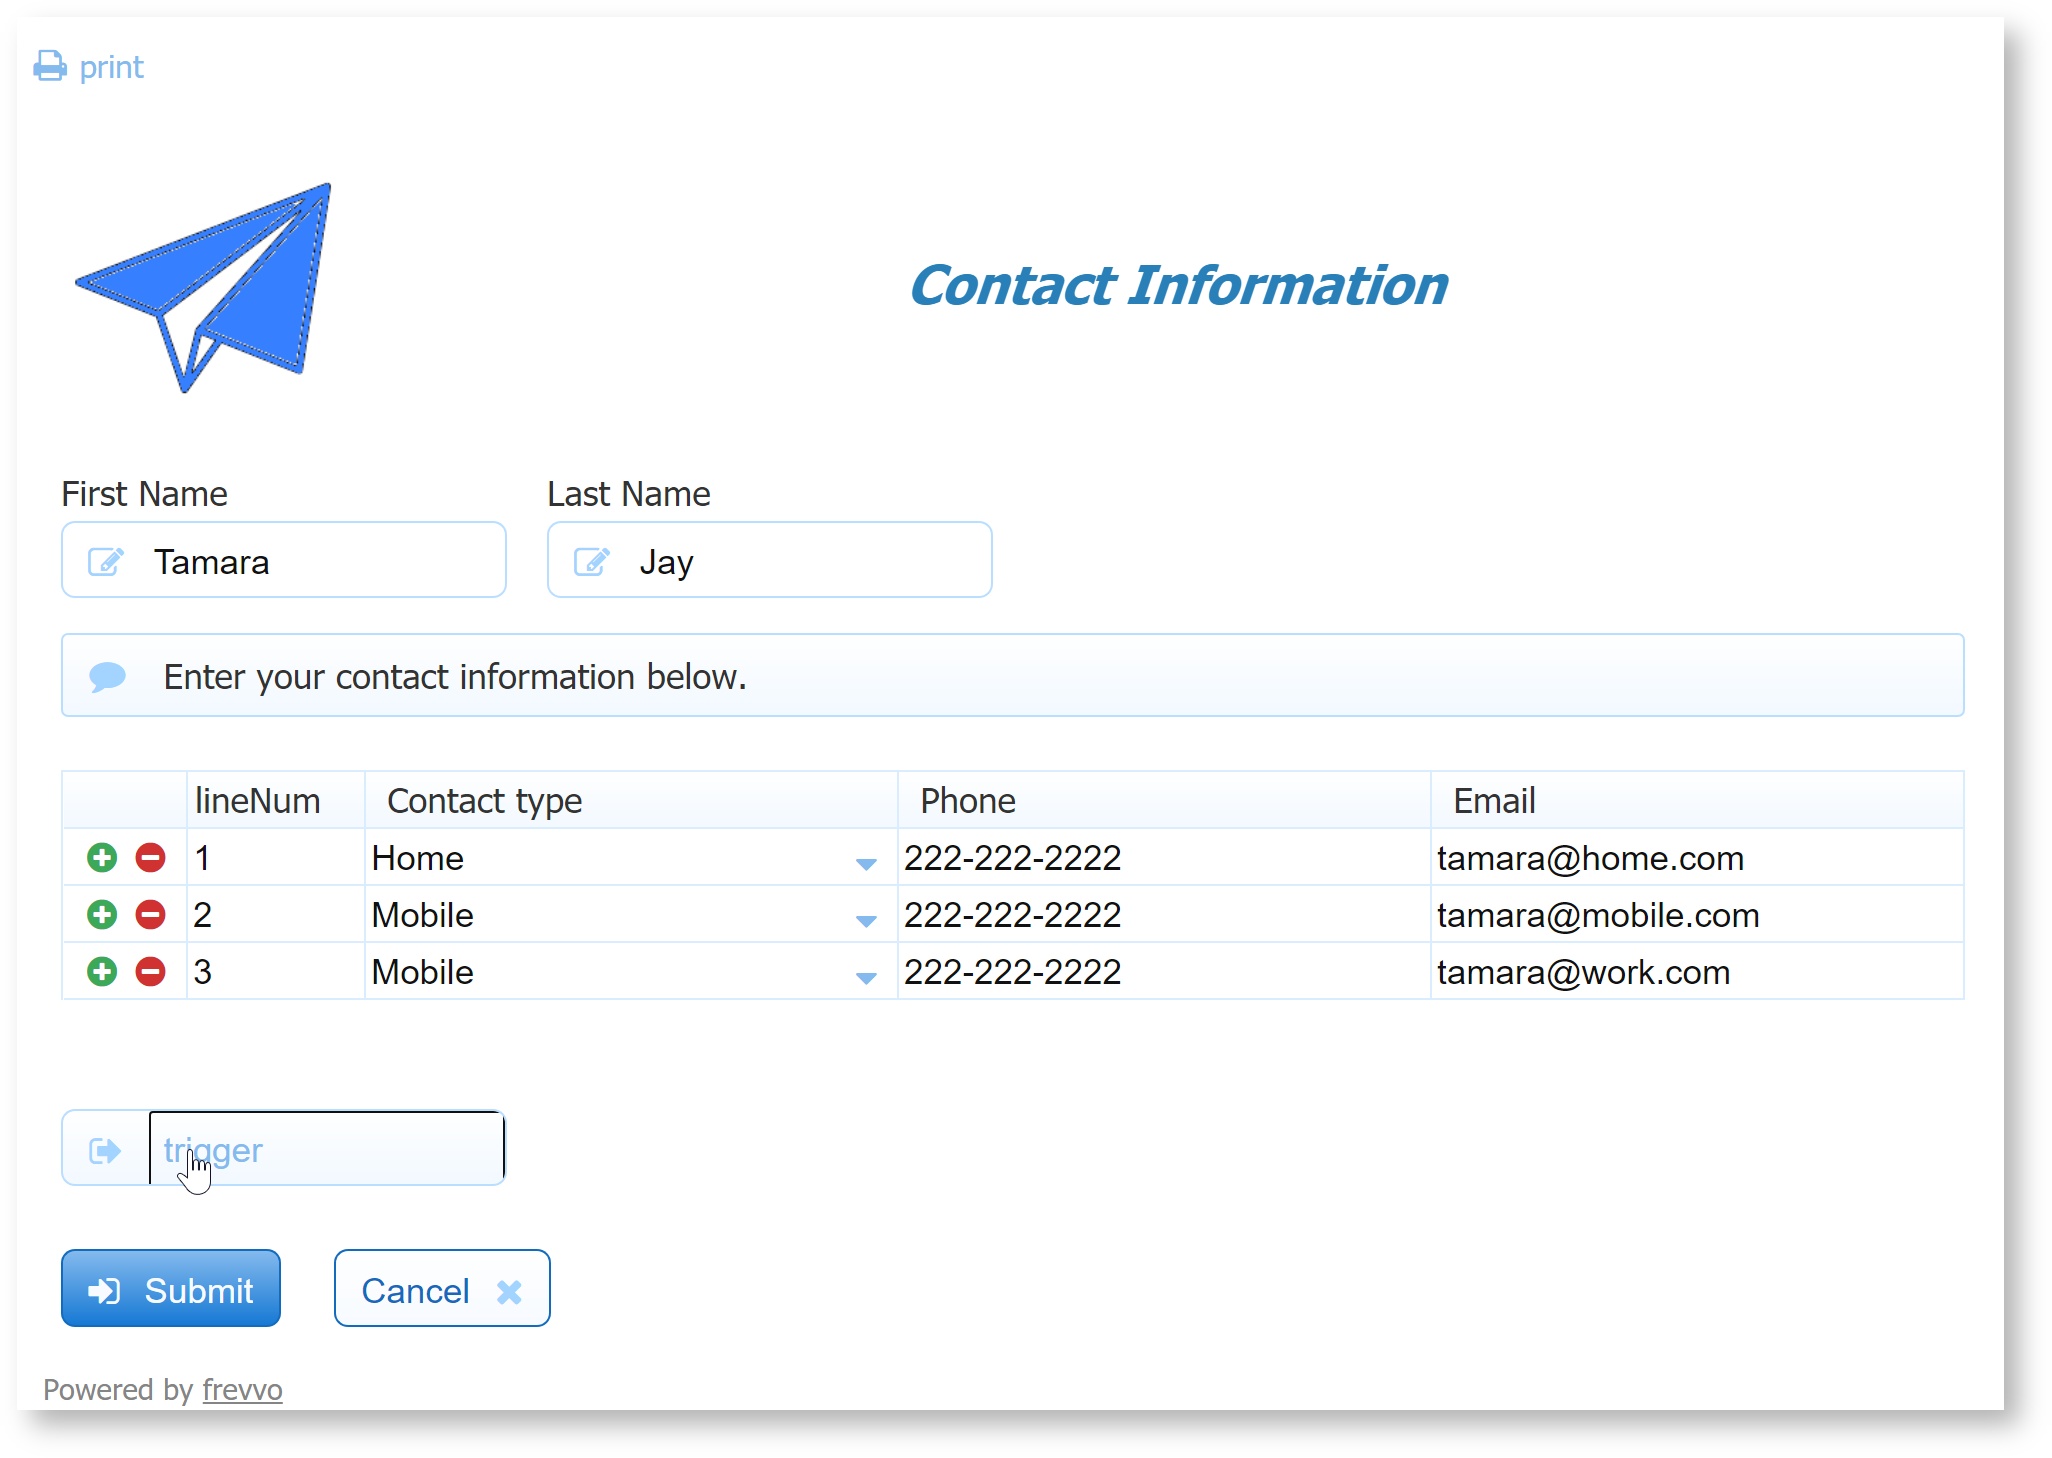
- Add a Table Control to your form/workflow. In this example Contact Information form, our table has four columns: lineNum (Text), Contact Type (Dropdown), Phone (Phone), Email (Email).
- Set up your Google Sheet with column names that match the control names in your form. You'll need two additional elements:
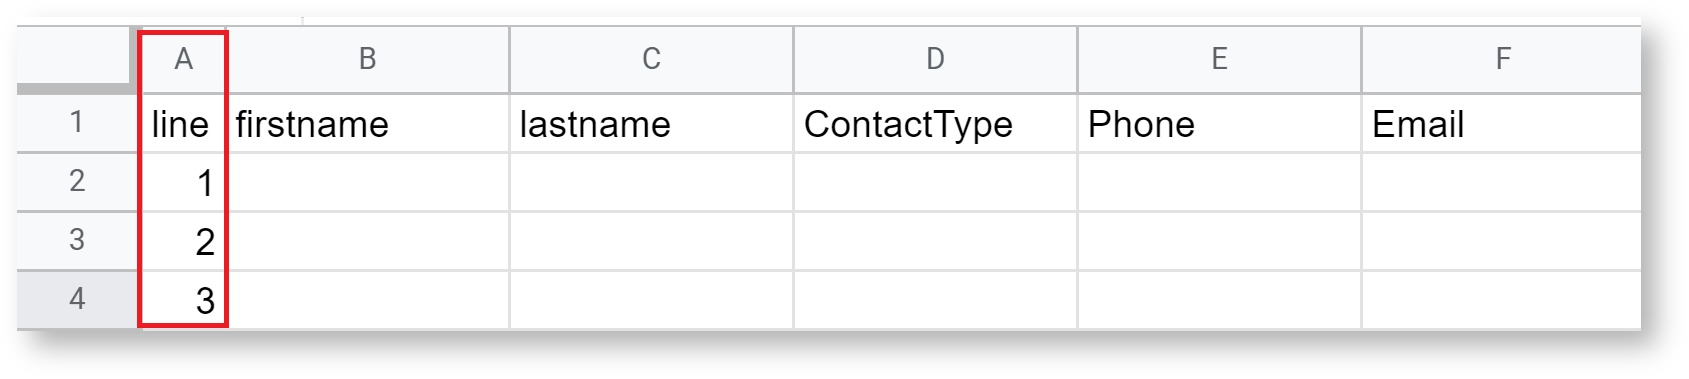
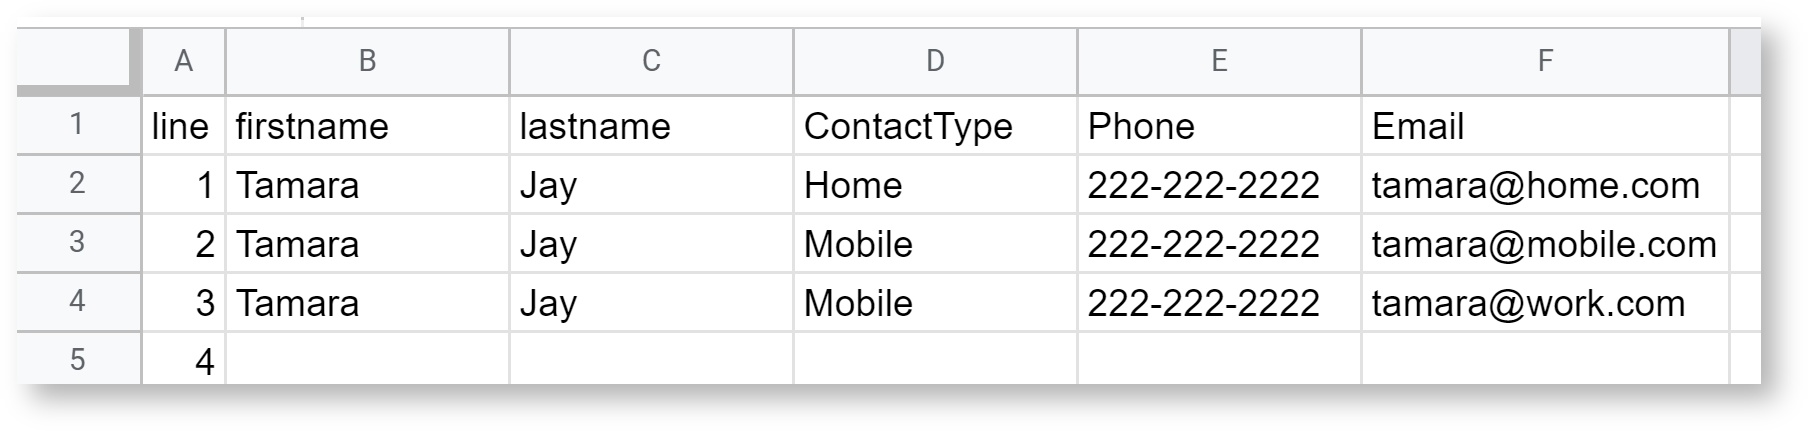
- The first column in your submissions Google Sheet must be the line number. Prepopulate this with line numbers. In our example, this tab is named "ContactInfo".
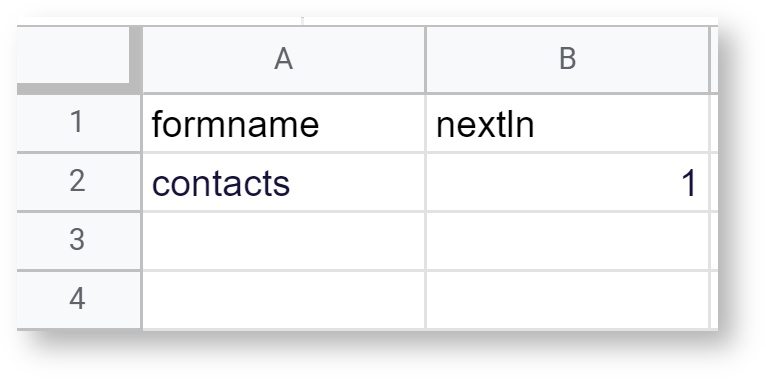
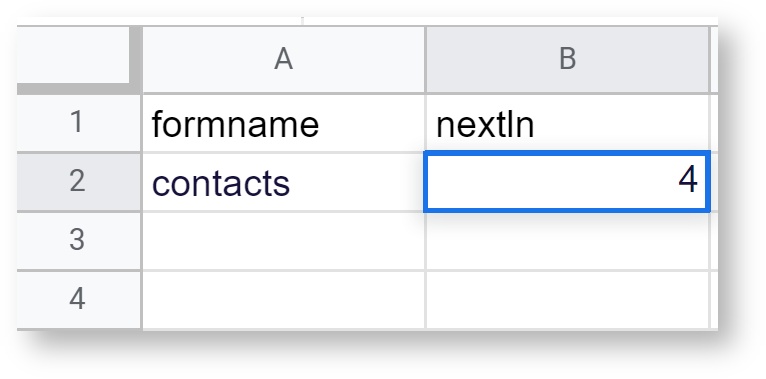
- Add another tab in your sheet named "getline". You can name the columns whatever you want. The first column will be used as a read query, and the second column (cell B2) will represent the last available row in your sheet. Set it to "1" for now. Your business rule will update it.
- The first column in your submissions Google Sheet must be the line number. Prepopulate this with line numbers. In our example, this tab is named "ContactInfo".
- Add two business rules. Replace the info shown in <> in these examples with your Google Sheet details (e.g. replace <spreadsheet key> with your spreadsheet's key, found in the spreadsheet URL.)
Get Line Numbers:
/*member nextln, password, user, results */
var event = form.load;
var event2 = infoTableRepeat.itemAdded; //name of your table or repeat control

var x;
var id;
var idm;

if (form.load){
  var headers = {"user":"<google username>","password":"<OAuth Token>" };

  for (var i = 0; i < lineNum.value.length; i++){ //lineNum is a control in your table/repeat
	//query to read from the extra tab in your sheet that you named 'getline'. The query is A1="A2".
    var readquery = '/google/spreadsheets/query/key/<spreadsheet key>?wsname=getline&query=<cell A1>="<cell A2>"';
	//query to update that same tab.
    var updatequery =
        '/google/spreadsheets/update/key/<spreadsheet key>?wsname=getline&query=<cell A1>="<cell A2>"';

    eval('x=' + http.get(readquery, headers));
    //sets the line numbers in the table
    id = x.results[0].nextln; //"nextln" is the ColB header (cell B1 in your tab)
    if (lineNum[i].value.length === 0){
      lineNum[i].value = id;
      id = id * 1 + 1;
    }

    if (id !== 'unknown') {
      eval('x=' + http.put(updatequery + '&updates=nextln=' + id, null, headers, false)); //update nextln with the next available line number (# of rows in your table + 1)
    }
  }
}
Update Rows from Table
/*member password, user, ContactType, Email, Phone, firstname, lastname, linenumber*/

if (trigger.clicked){

//Variables for controls that are NOT in the repeat
  var fname = firstName.value;
  var lname = lastName.value;

  //Login
  var headers = {"user":"<google username>","password":"<OAuth Token>" };

   for (var i = 0; i < ContactType.value.length; i++){ //ContactType is a column in your table. This loop repeats for each table row that has a value in this column.
    var ln = lineNum[i].value; //Variable that gets the line number set by your Get Line Number rule, corresponds to an available row in the Google Sheet
	//query to update the tab "ContactInfo" when the first column "line" equals the line number (ln) in your table
    var updatequery = '/google/spreadsheets/update/key/<your spreadsheet key>?wsname=ContactInfo&query='+encodeURIComponent('line="'+ ln + '"');
    //variables for controls that ARE in the repeat
    var a = ContactType[i].value;
    var b = Phone[i].value;
    var c = Email[i].value;
    //identify which controls to send to the Google Sheet. Syntax is "GS column header":value. In this case our values are held in local variables.
    var params ={"firstname":fname,"lastname":lname,"ContactType":a,"Phone":b,"Email":c};
    var updateparams = '&updatesjson='+encodeURIComponent(JSON.stringify(params));
	//http.put updates the Google sheet
    eval('x=' + http.put(updatequery + updateparams, null, headers, false, false));
  }
}
- In use, this form will
- Populate hidden lineNum table column with the last available line number from the Google Sheet, and increment that number for each row. It will then write back to the Google Sheet to update the last available line number (on the "getline" tab) so that if another form is opened before this one is submitted, they won't overwrite one another's submission. The image below shows the lineNum column for demo.
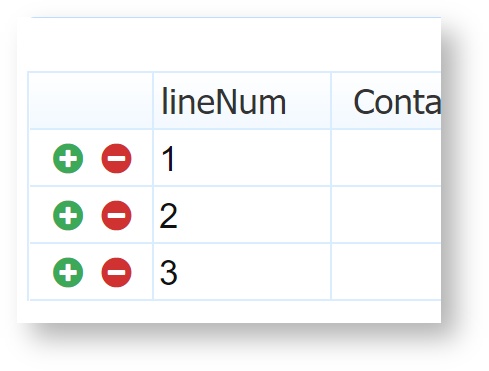
- When the trigger is clicked, update the Google Sheet rows that match the table's lineNum rows with the parameters you have set, which can include both form data outside the table and within the table for that specific row.
- Populate hidden lineNum table column with the last available line number from the Google Sheet, and increment that number for each row. It will then write back to the Google Sheet to update the last available line number (on the "getline" tab) so that if another form is opened before this one is submitted, they won't overwrite one another's submission. The image below shows the lineNum column for demo.