Live Forms v7.4 is no longer supported. Please visit Live Forms Latest for our current Cloud Release. Earlier documentation is available too.
Vendor Quote Workflow Tutorial
- Former user (Deleted)
- Former user (Deleted)
This tutorial will show you how to build a workflow for obtaining a quote from a vendor. In this workflow a user can describe the work that needs to be done, send it outside the organization to a 3rd party for the quote and finally to a manager for approval. It illustrates some powerful features of frevvo including:
the ability to have people outside your organization participate in the workflow without needing a user account
business rules to ensure the right information can be viewed by the right people at the right time
ability to dynamically determine what data must be provided at a given step
What You Will Need
- A
account on the frevvo SaaS server or a working in-house installation .
Step 1: Create Roles and Users
In order to design and test the flow, you need to create a role called employee and 3 users. The role will be used to control who can start a quote request. The following user accounts are also required:
- a designer to create the flow
- a user that can initiate the quote request
- a manager to approve the quote.
Roles can only be created by the tenant administrator. The steps are:
login to your tenant with the admin user account
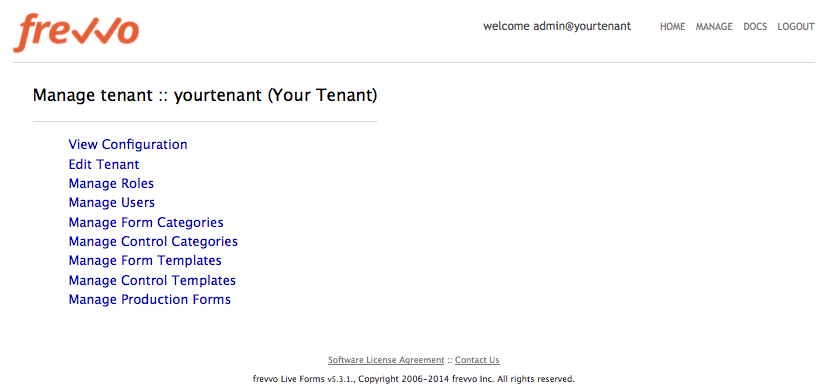
you should be on the manage tenant page (if not click Manage in the upper-right hand corner)
click Manage Roles
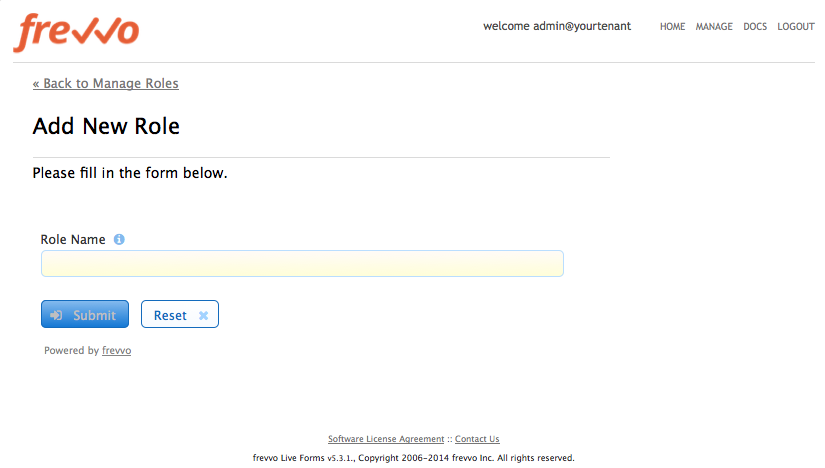
click the + icon
type in ‘employee’ into the role name and click submit
Users can also only be created by the tenant administrator. The steps are:
click Manager Users on the manage tenant page
click the add new user icon which will bring up the Add New User form
enter all the required information (use your email address) for the manager and click submit
you should be back on the user list - click the add new user icon again
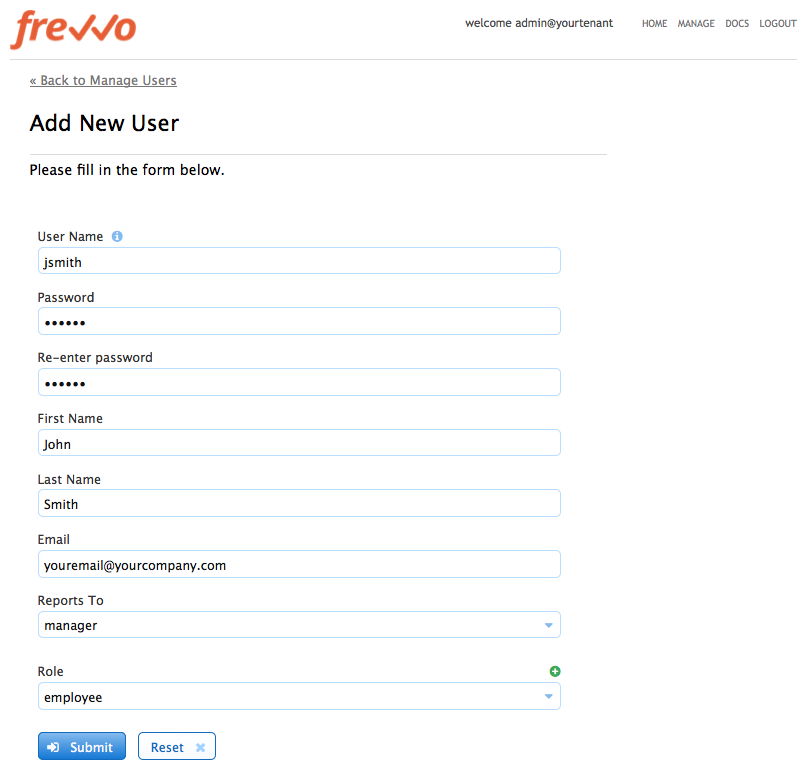
fill out all the required information (use your email address) for the employee
select the employee role
set “reports to” to the manager user you just created in the previous step
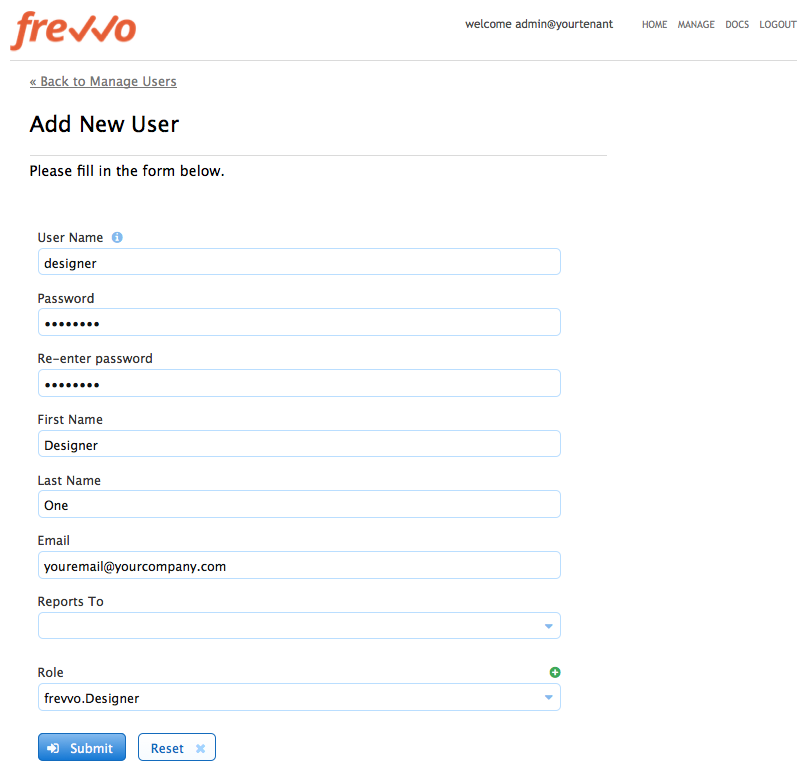
finally create a user for the designer and be sure to give this user the special frevvo.Designer system role
Create User Screen Example (for the employee user)
Create User Example (for the designer)
You should now have a designer, manager and employee user (with the employee role) and a reporting relationship defined between the manager and the employee.
Step 2: Create the Workflow
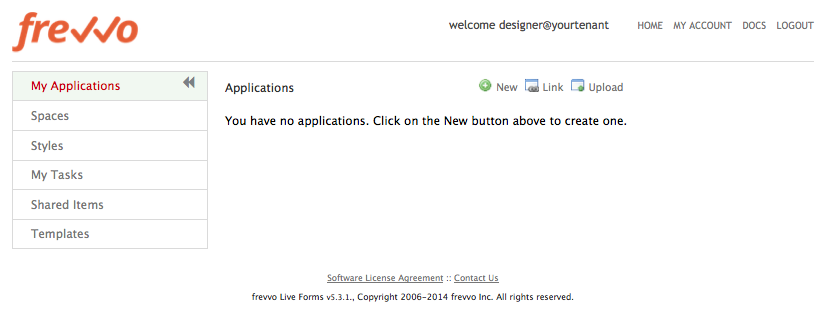
Now it is time to create the workflow. Login to your tenant as the designer user. Workflows are always contained within a frevvo application. From the Applications page you can either click Edit on an existing application or click the New button in the upper right hand corner to create a new application.
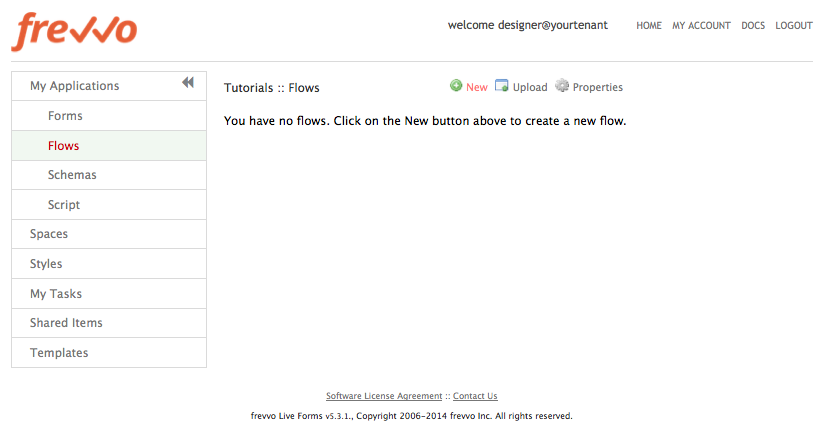
Once you are in the application, click on Flows in the navigation bar on the left side. Finally click the New button in the upper right-hand corner.
You will be in the flow designer now. Enter Vendor Quote for the flow name property on the left.
The flow will consist of 4 steps:
a form step for the employee to fill out the project details
an Anonymous Task step to send an email to the vendor
a form step for the vendor to provide quote information
a form step for the employee’s manager to review
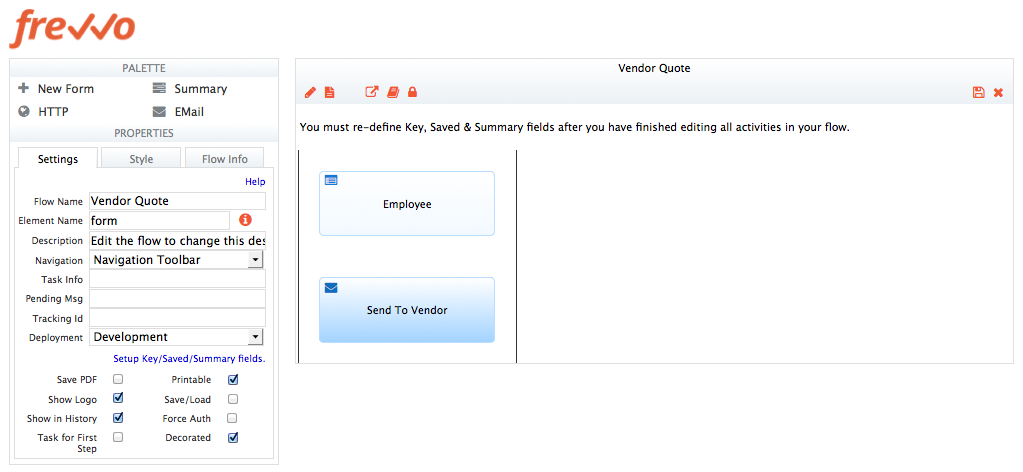
Start by dragging a single form step on to the flow designer workspace and then an Anonymous Task step directly below it. We will add the rest of the steps later.
Click on the 1st form step and set the Name to “Employee”. Click on the 2nd step and change the name to ‘Send to Vendor’.
Step 3: Build the Form
For this workflow, we are going to design the entire form layout as part of the first step. We will then use the linked step feature of frevvo and business rules to customize the view based on which step is being performed. The steps are:
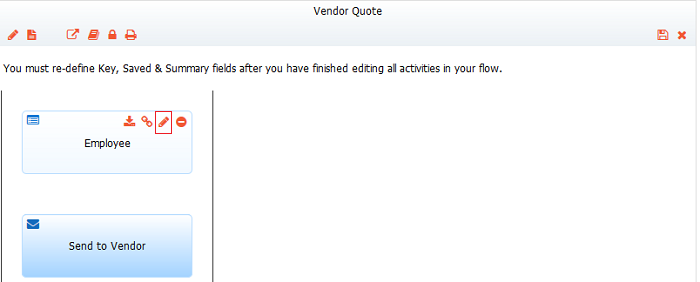
click on the Employee step in the flow designer (you should see some icons appear in the upper right-hand corner of the step when it has focus)
click on the pencil to go into the form designer
The layout of the form consists of 5 components:
read-only employee info (first name, last name & email) that will be automatically populated based on the user that initiates this workflow
job request section where the employee will fill out the details of the work to be done
vendor quote section to be filled out by the vendor
manager approval section
hidden fields (used to capture the manager of the employee that filled)
Drag and drop the various controls on your form, name the fields and give them labels so that the form looks something like the following:
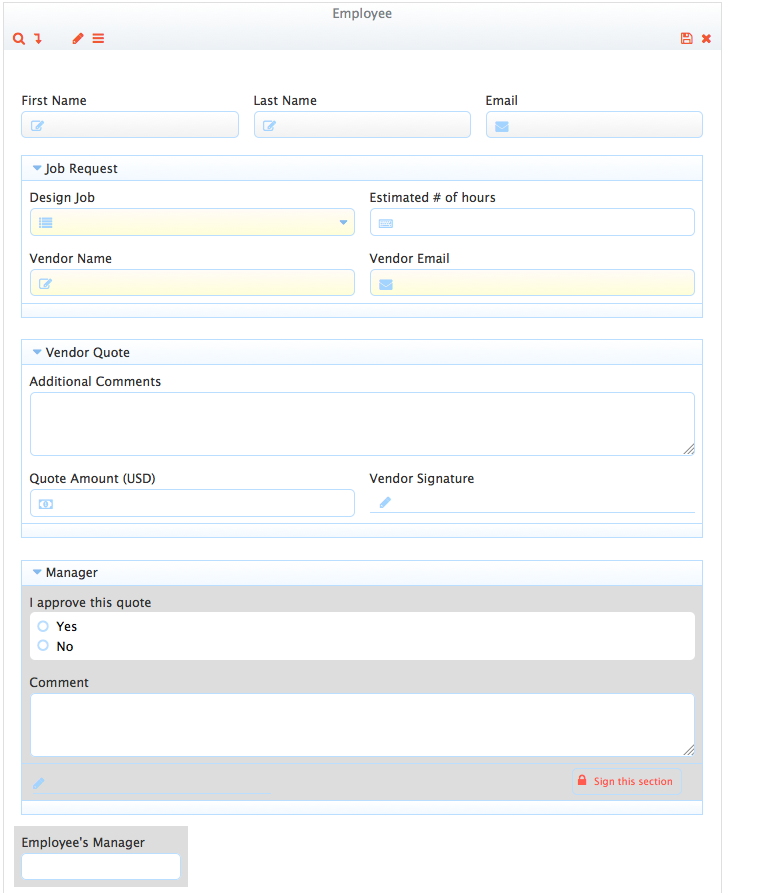
The form you create does not have to look exactly like the picture above. Using the form designer is out of scope for this tutorial so it will focus only on features relevant to this particular workflow. For more detailed instructions on designing forms, go here.
When you are happy with the way the form looks, click on the Manager section of the form and uncheck the Visible property. We will handle enabling this section in the last step of the setup.
Step 4: Employee Info
First we will work with the fields designed to capture information about the user initiating the work flow:
First Name
Last Name
Email
Employee’s Manager
The first 3 fields should be visible but disabled as we can determine these values automatically and don’t need to enter them manually or changed by someone using the workflow. Select each control and then uncheck Enabled in the Settings section under Properties on the left side of the designer. The Employee Manager field should be hidden so uncheck Visible for that control.
Next we need to initialize these values with a business rule:
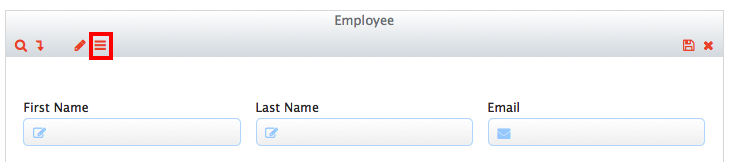
Click on the rules toolbar button (3 horizontal lines) which will bring up the rule editor.
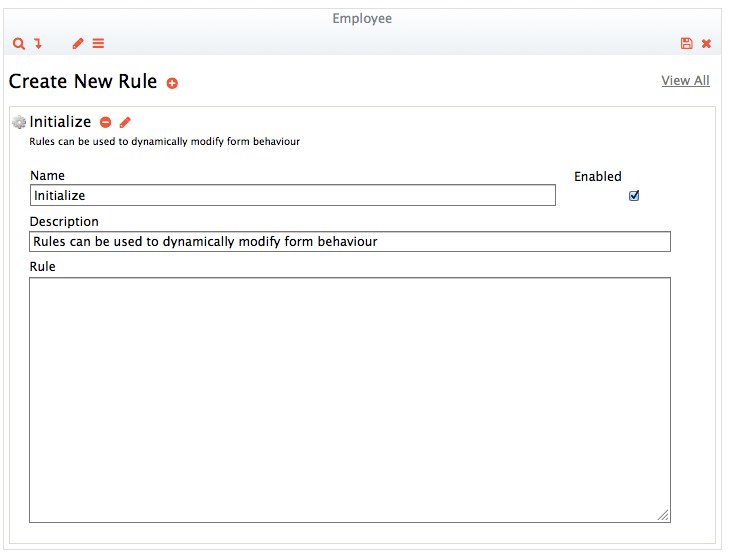
Click the plus to create a new rule and a new rule will appear directly below.
Click on the pencil icon next to the rule and you can change the rule name and description if you want. Finally, enter the following for the rule itself:
if (form.load) {
  if (FirstName.value.length === 0) {
    FirstName.value = _data.getParameter('subject.first.name');
    LastName.value = _data.getParameter('subject.last.name');
    Email.value = _data.getParameter('subject.email');
    EmployeeManagerId.value = _data.getParameter('subject.reports.to');
  }
}
The first if statement makes sure that the logic only executes once when the form is initialized. The second if statement makes sure the values are only set once. If they have been set already, we leave them alone.
Click the save toolbar button on the right to save the flow so we can test it out. You should be back in the flow designer at this point. Click save again to get back to the flow list.
Click Test and verify that first name, last name and email are being populated correctly.
Form Designer Toolbar (rule button highlighted)
Create Rule
Step 5: Vendor Section
Now let’s set up the part of the workflow that the vendor is going to use. The form should contain a field called VendorEmail. The employee will need to enter this so frevvo knows where to send the email for the next step. Let’s enforce this by going into the form designer for the first step and making VendorEmail required:
click on the Employee step so that it has context
click on the pencil icon within the step to bring up the form designer
click on the Vendor Email to give that control focus
make sure Required is checked (in the Settings section on the left of the designer)
while you’re at it, make Design Job and Vendor Name required too so that the vendor has enough information to formulate a quote
while we’re in here note the name of the VendorEmail control (you could copy it into your clipboard as well since we’re gong to need this value using CTRL-C or CMD-C)
click the save toolbar button to go back into the flow designer
Next we need to configure the flow so that step 2 uses the the email address entered into the VendorEmail control:
click on the 2nd step in the flow (“Send to Vendor”) to select it
in the Settings tab is a property called Email Address - enter the name of the control being used to collect the vendor email address surrounded by curly braces (for example {VendorEmail}
The usage of the curly brace syntax is used throughout frevvo as a shorthand to get a given control’s value.
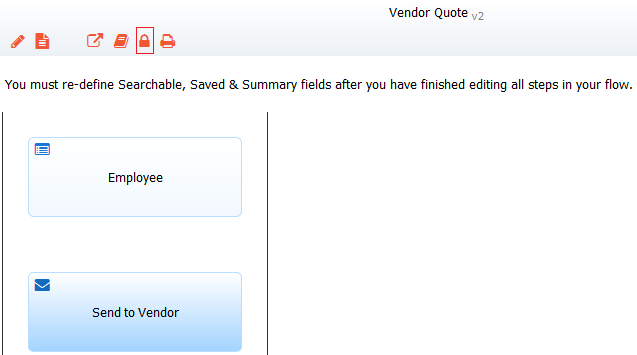
Finally we need the vendor to see everything that the employee entered in the first step. Rather than create a second form for this, we’ll used the linked step feature to create an step for the vendor that is derived from (or linked to) the form in the first step:
click on the first step so it has focus (you’ll see at some icons appear within the step box)
click on the icon that looks like 2 links in a chain
You will see a new step inserted into the flow between the Employee step and the Anonymous Task step. Linked steps are denoted by a dashed border. Finally this step needs to be performed after the Anonymous Task step so drag the new step below the email address.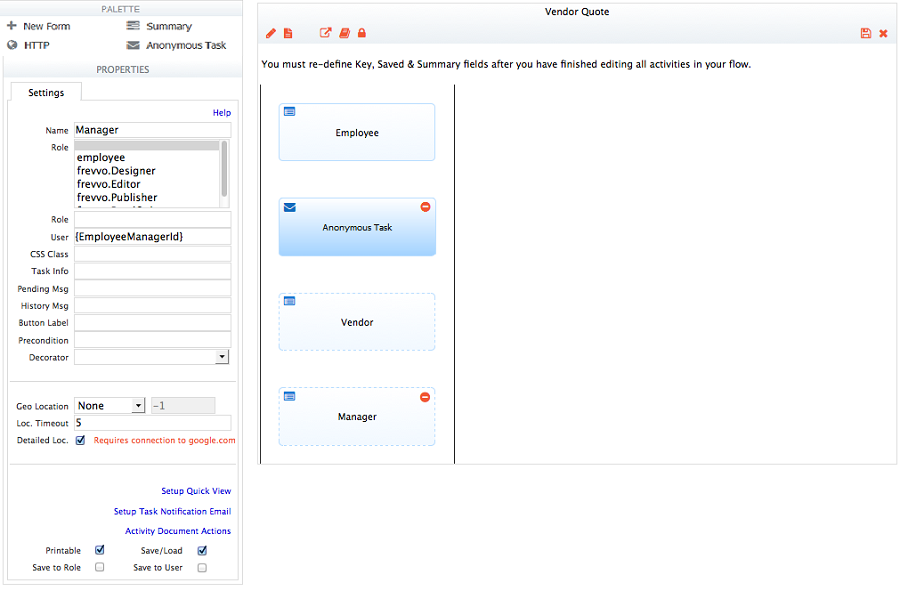
Step 6: Changing Form Behavior Based On The Step
The same information is needed for both the employee and vendor steps however we don’t want the Vendor changing data that the employee entered. Come to think of it, we don’t even want or need the employee to see the section that the vendor has to fill out. This can be accomplished with a minor modification to our initialize rule:
if (form.load) {
  var an = _data.getParameter('flow.step.name');
  if (an === "Employee") {
    JobRequest.enabled = true;
    VendorQuoteSection.visible = false;
  } else if (an === "Vendor") {
    JobRequest.enabled = false;
    VendorQuoteSection.visible = true;
    VendorQuote.required = true;
    VendorSignature.required = true;
  }
  if (FirstName.value.length === 0) {
    FirstName.value = _data.getParameter('subject.first.name');
    LastName.value = _data.getParameter('subject.last.name');
    Email.value = _data.getParameter('subject.email');
    EmployeeManagerId.value = _data.getParameter('subject.reports.to');
  }
}
The updated rule first figures out the current step. If the current step is the employee step, the JobRequest section is enabled but the VendorQuoteSection is hidden. If the current step is the vendor, we disable the JobRequest section, make the VendorQuoteSection visible and mark any fields that the vendor must fill in as required.
Step 7: Manager Approval
Finally we need to set up the manager approval. Just as in the previous step we want to create a linked step:
go back into the Flow Designer (where you can see all the steps) if you are not already there
select the “Employee” step by clicking on it
click the link icon (2 links in a chain)
drag the step to the end and rename it “Manager”
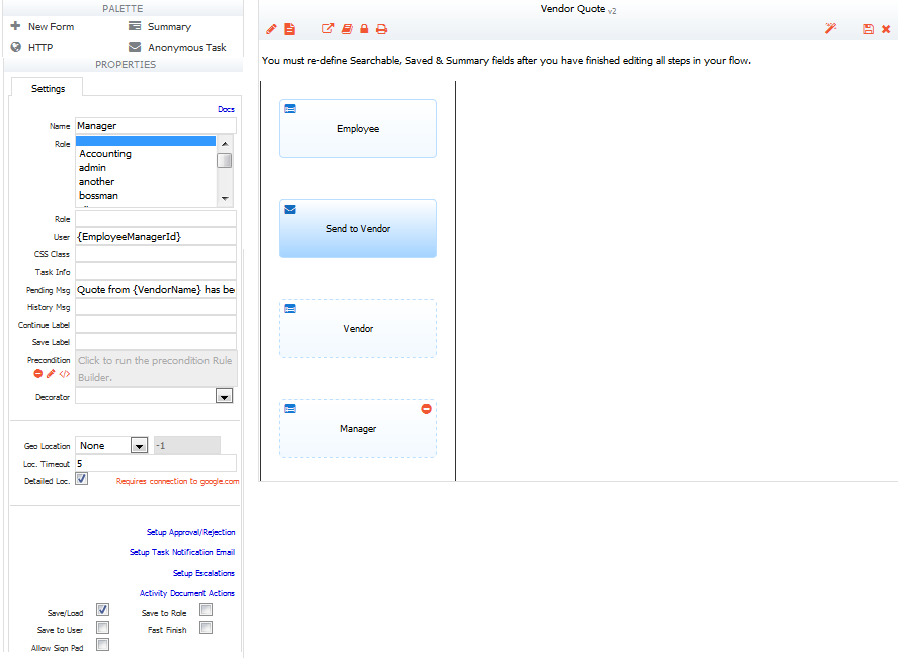
This step should only be performed by the manager of the user that initiated the request. When the “Manager” step has focused, you will notice role and user fields to the left under settings. These properties allow the designer to specify what roles or even a specific user that can perform a given step. This can’t be determined when the flow is being designed as it depends on the user that initiated the workflow.
Now we will make use of the hidden EmployeeManagerId control that we are initializing with the business rule we wrote in step 4. Next to User enter {EmployeeManagerId}. When the workflow gets to the manager approval step, frevvo will get the value from the EmployeeManagerId control in the form and assign the step to that user.
Once the vendor has completed the quote an email will be sent to the approving manager. Let’s customize the message a bit by setting the Pending Msg property to the following:
Quote from {VendorName} has been successfully submitted.
Once again, we are leverage frevvo’s templating capability to use data from the from to provide some specific details about the quote to the approving manager.
Finally we need to make sure the manager can see all the data in the form and can do the needed approval. To accomplish this, we need one last change to our initializtion rule:
if (form.load) {
  var an = _data.getParameter('flow.step.name');
  if (an === "Employee") {
    JobRequest.enabled = true;
    VendorQuoteSection.visible = false;
  } else if (an === "Vendor") {
    JobRequest.enabled = false;
    VendorQuoteSection.visible = true;
    VendorQuote.required = true;
    VendorSignature.required = true;
  } else if (an === "Manager") {
    JobRequest.enabled = false;
    VendorQuoteSection.enabled = false;
    Manager.visible = true;
    IApproveThisQuote.required = true;
  }
  if (FirstName.value.length === 0) {
    FirstName.value = _data.getParameter('subject.first.name');
    LastName.value = _data.getParameter('subject.last.name');
    Email.value = _data.getParameter('subject.email');
    EmployeeManagerId.value = _data.getParameter('subject.reports.to');
  }
}
Note that in addition to showing the manager section, we are making the IApproveThisQuote control required.
Step 8: Access Control
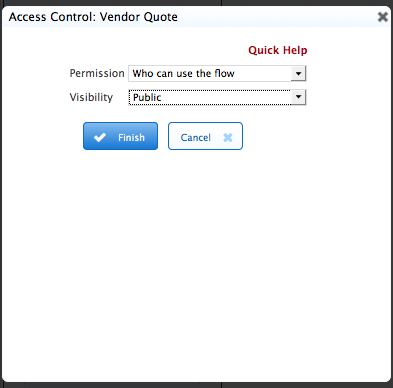
Since this flow requires contributions from people that are anonymous (don’t have a frevvo user id) we need to make the flow accessible to anyone. This can be done by:
click on the lock icon for the flow in either the flow list or from within the flow designer
this will pop up a window where the designer can specify permissions for the flow
change the Visibility of the flow from “Public in Tenant” to “Public” for the Permission “Who can use the flow”
Changing the flow to public will allow the vendor to access their step but we don’t want just anyone to able to start the flow (which someone could with a public flow if they know have the URL). To fix this, we can assign the employee role to the first step in the flow:
open the flow designer for the flow
click on the ‘Employee’ step so it is selected
select employee for Role
save the flow
Now only a user that is logged into frevvo and has the employee role can access the first step and initiate a workflow.
Summary
While this type of quoting workflow would need to be enhanced to suit specific business cases (mostly by adding more form fields) it illustrates how quickly a workflow can be created that can include collaboration with people that are not in your organization and do not have frevvo accounts.